
With school just around the corner, I thought I’d post a quick sewing tutorial on how to make your own pencil case in 20 easy steps! It’s super simple and only took me about 45 minutes to assemble… that’s with taking lots of photos along the way! I’m teaching a group of girls how to sew a very similar case in my Back to School Sewing Camp! Find me on Instagram to see more camp photos.
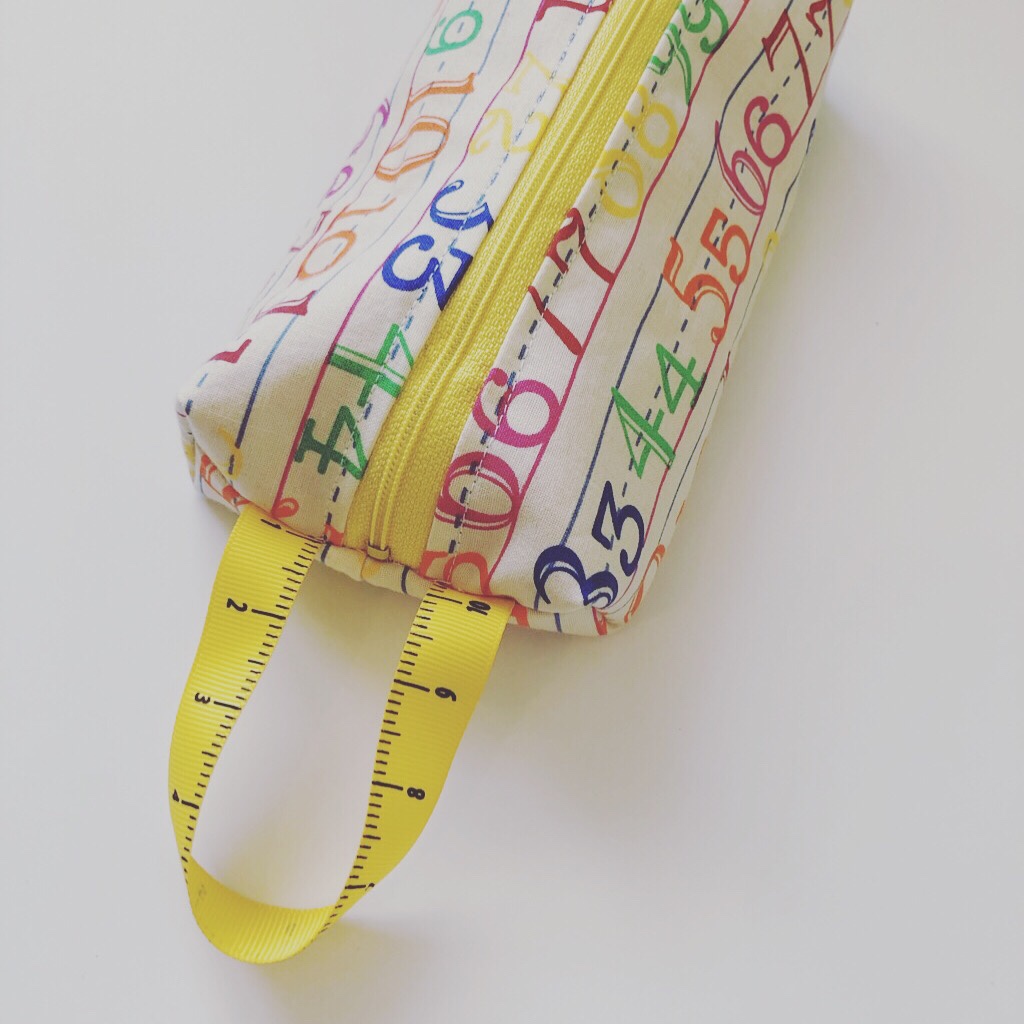
Step 1: First gather your materials! Cut out 4 9.5″ x 5.5″ rectangles. 2 should be your fashion fabric and the other 2 should be your lining fabric. Use a 9″ all purpose zipper. And grab 8″ coordinating ribbon for a handle. (optional)

Step 2: We are going to sew 1 fashion fabric rectangle and 1 lining fabric rectangle to the zipper tape. The two pieces of fabric should be right sides (print sides) together. Sandwich your zipper face down between. The zipper pull should be facing your fashion fabric.
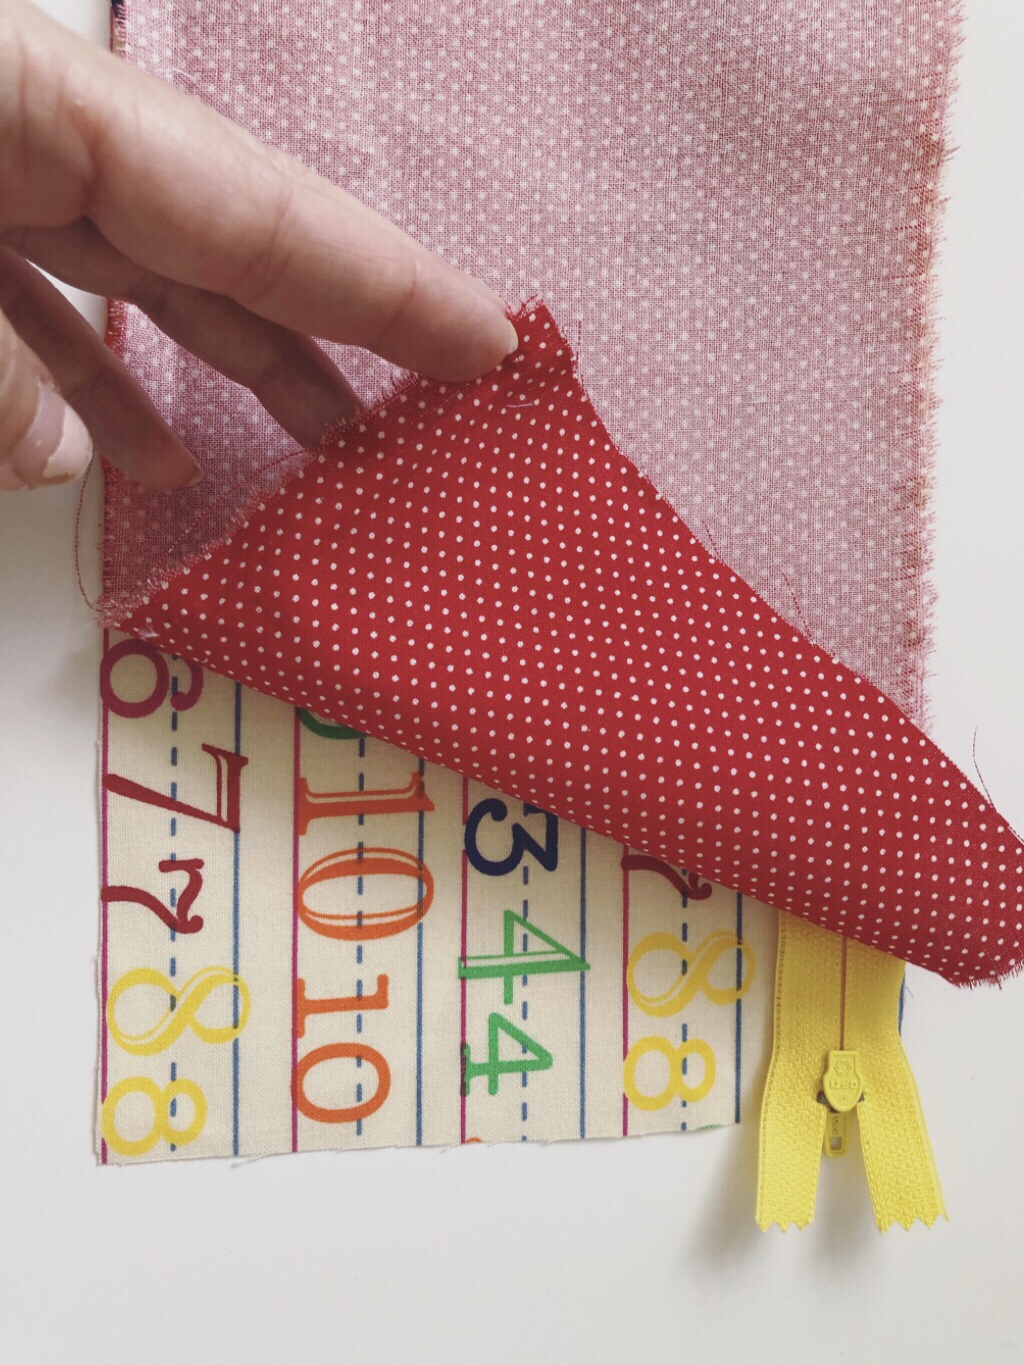
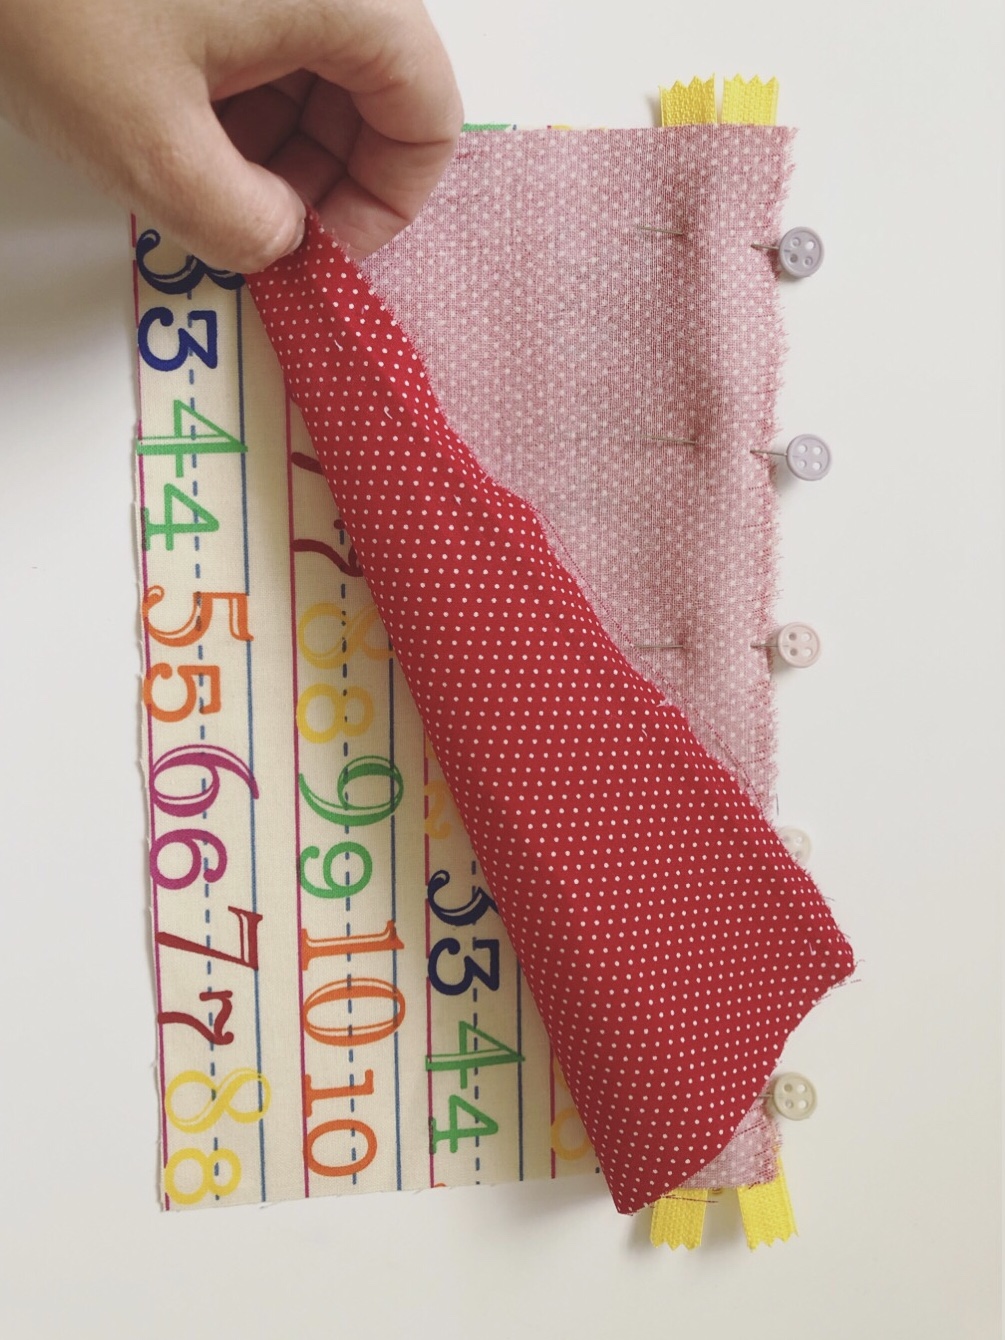
Step 3: Pin the three together. The zipper should be centered and running along the edge of the fabric. If your fabric is like mine where there is a top and bottom. Place your zipper at the top of the fashion fabric. (Otherwise my numbers would be upside down on the finished bag.)
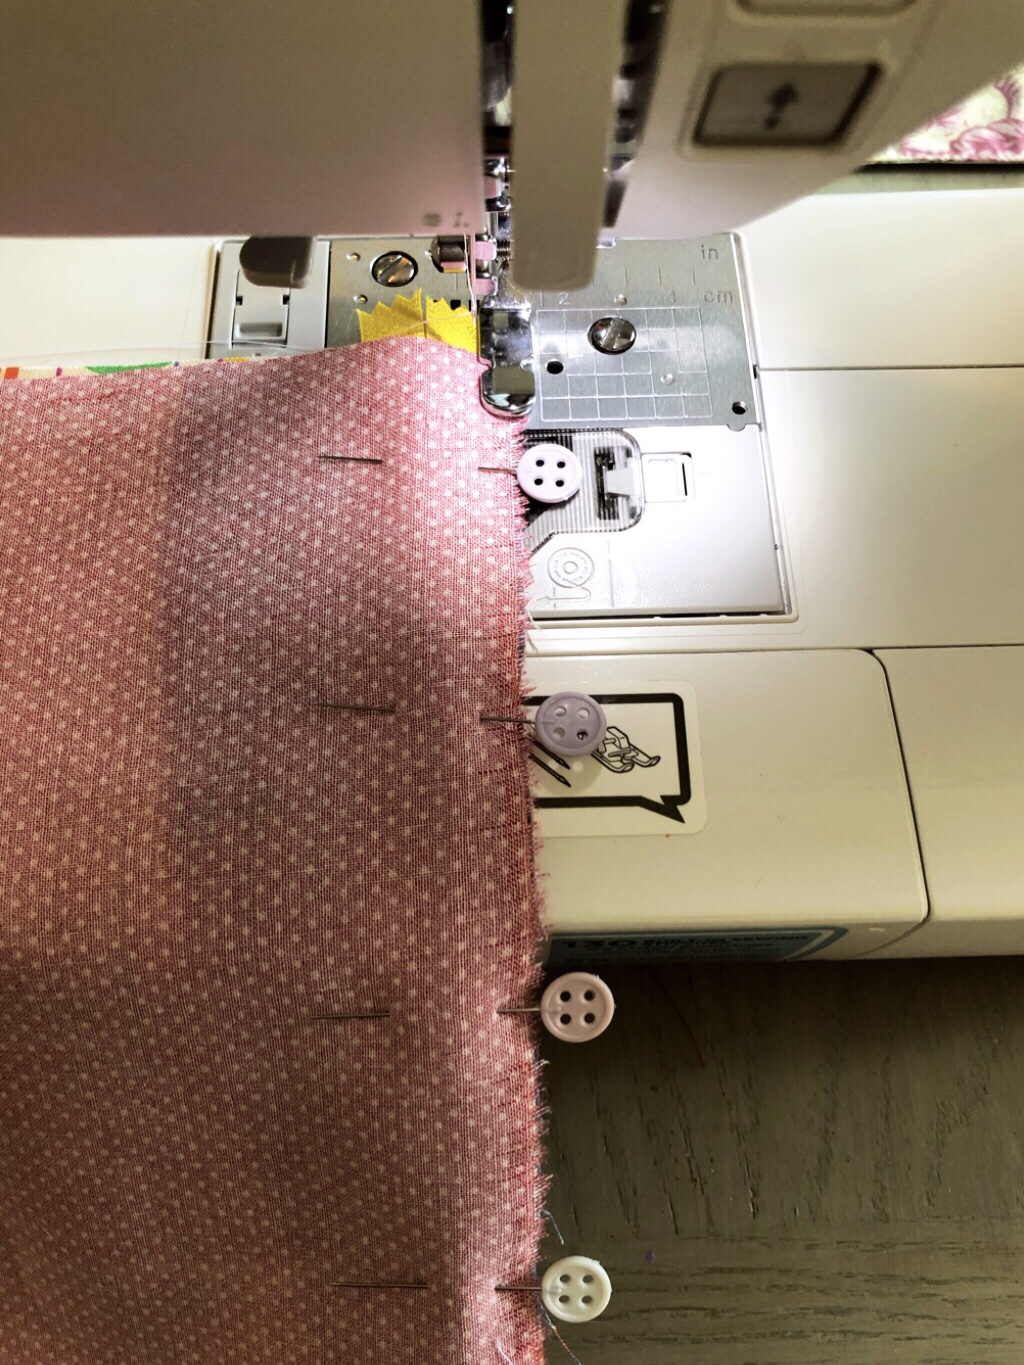
Step 4: Don’t forget to switch out your presser foot. Put your zipper foot on the machine.

Step 5: Sew down the edge of the fabric. The needle should stitch between the zipper foot and the zipper teeth. Be careful not to stitch too close to the teeth. Shoot for the center of the tape.
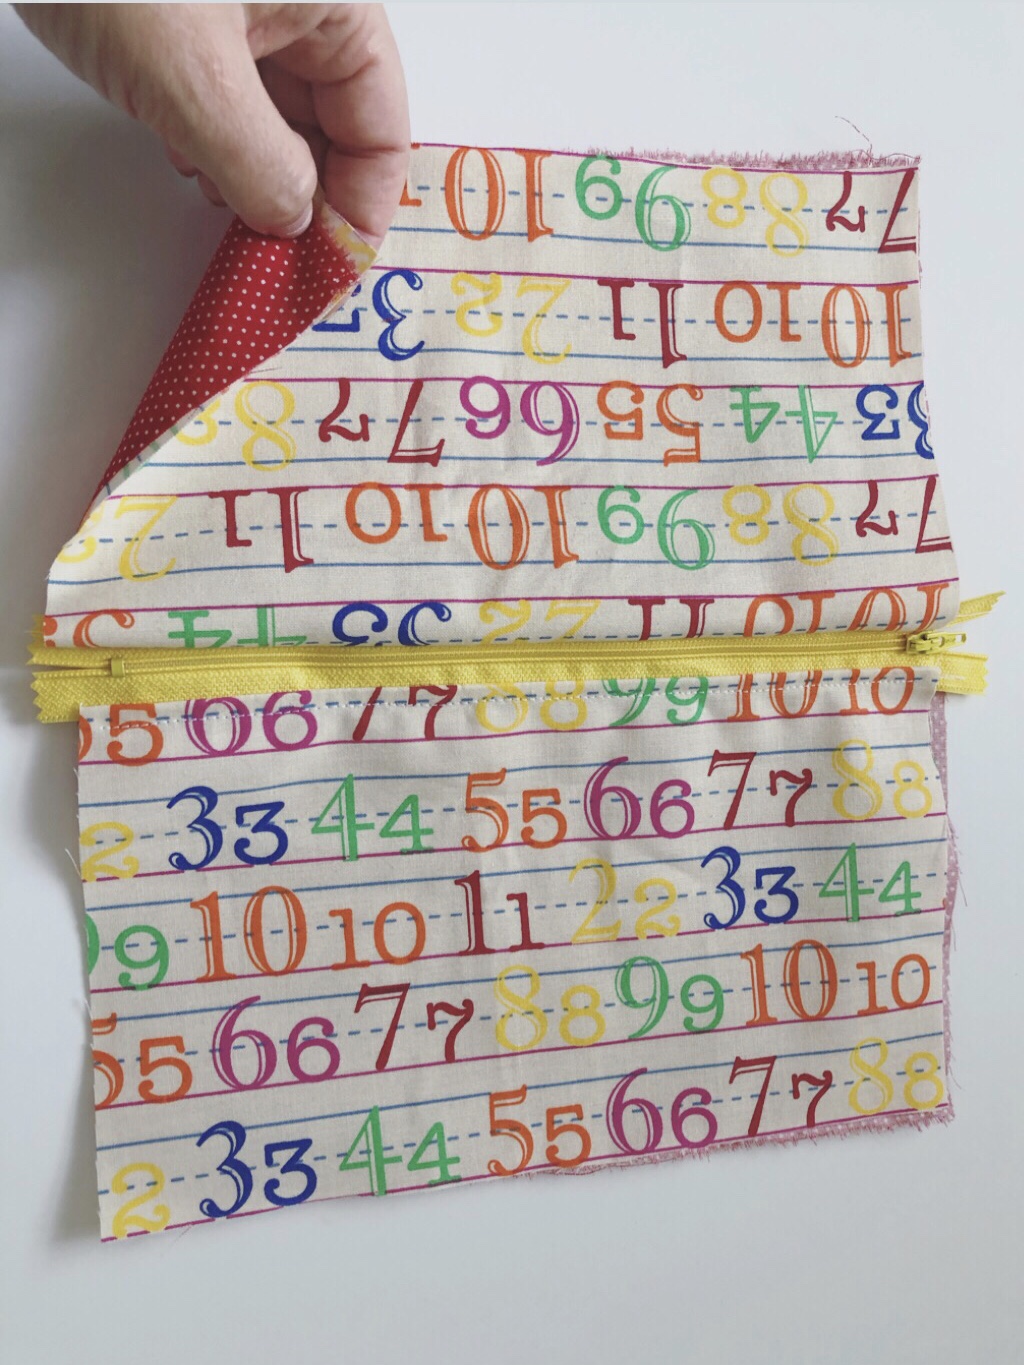
Step 6: When you are done stitching that edge, you should be able to open it up and see your fabrics facing you with the zipper in the middle. Test out your zipper and see if it will open. If it wont. You stitched it too close to the teeth. It happens to all of us.

Step 7: This next step it optional. I like to topstitch the layers down. It makes it look nice and ensures your fabric wont get caught in the zipper teeth when opening and closing bag.

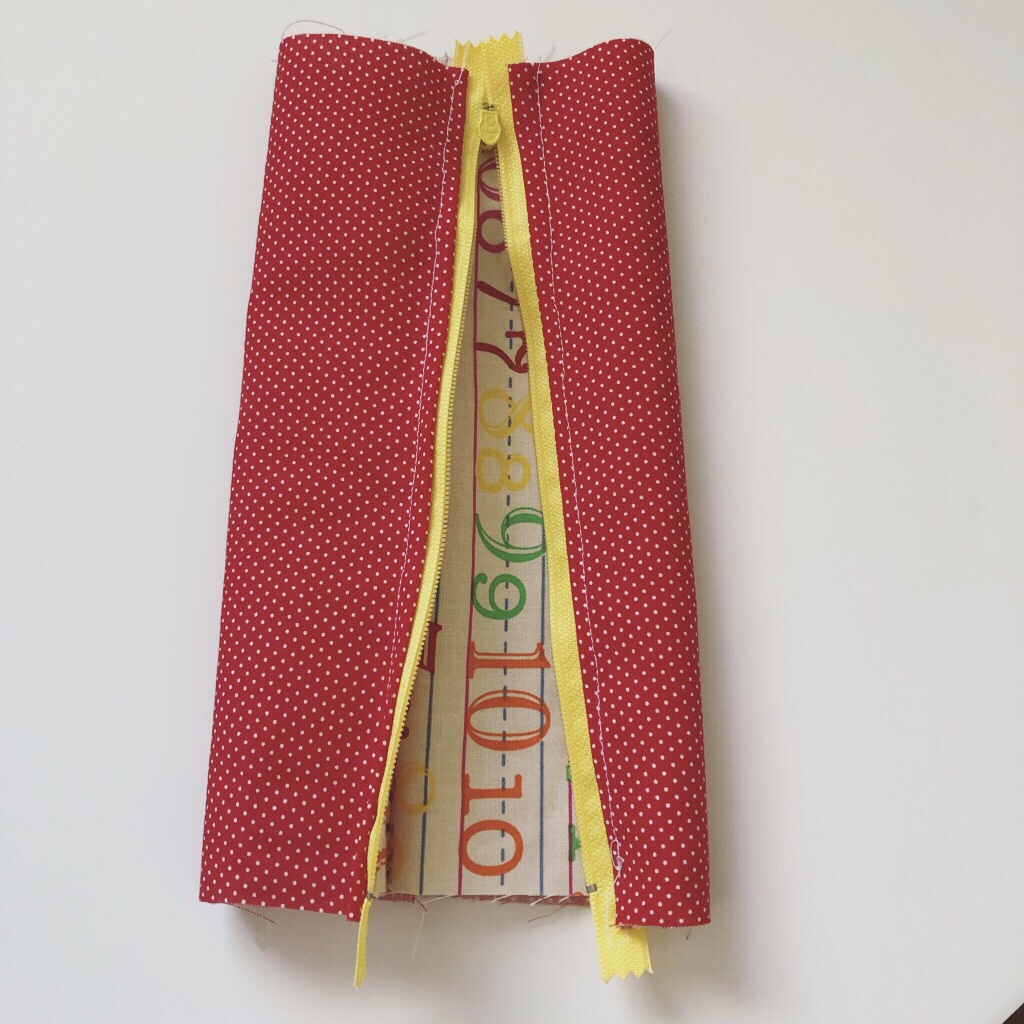
Step 8: Repeat the previous steps with the other side of the zipper tape. Sandwich the tape between the right sides of the fashion fabric and lining and sew.

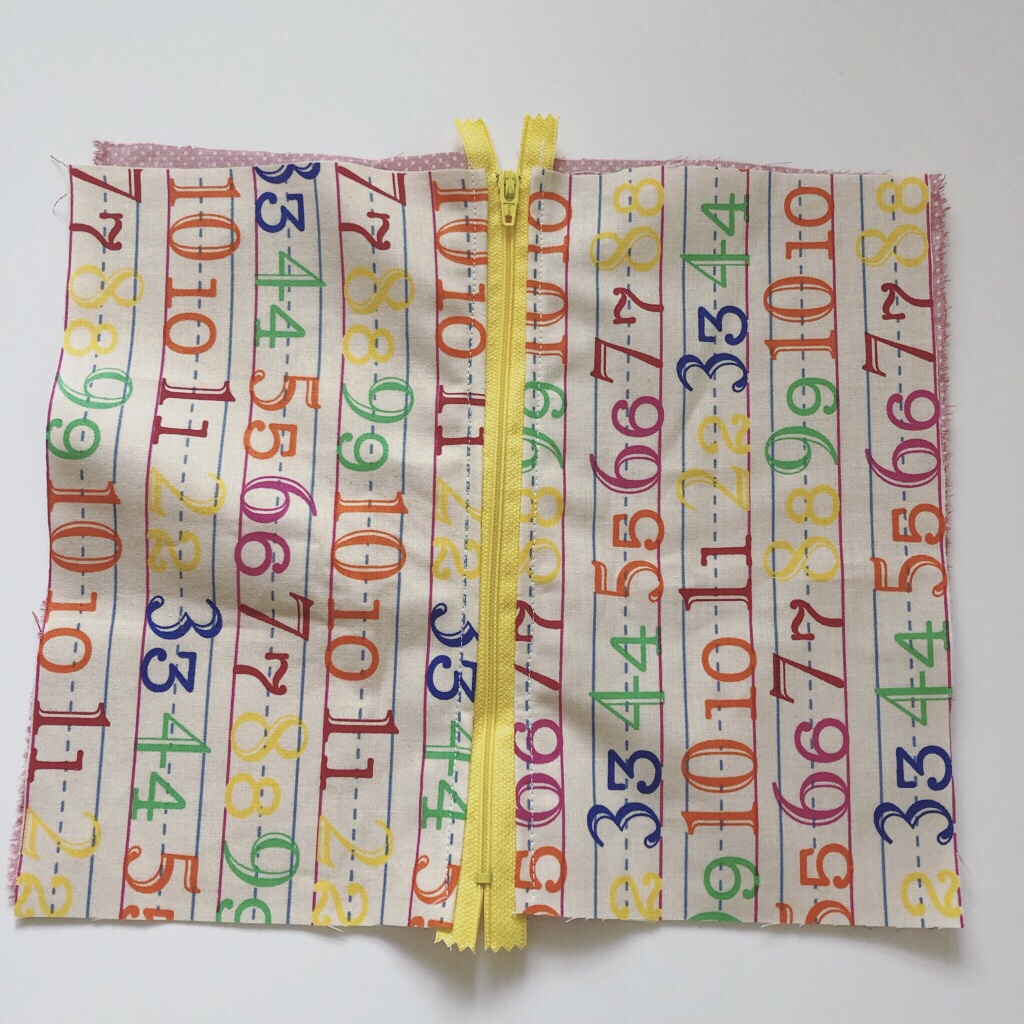
Step 9: Open up fabric and see if you can open and close zipper. The zipper pull should be on the fashion fabric side.
Step 10: Top stitch the left side of the zipper tape down.
Step 11: The underside (lining) should look like this.
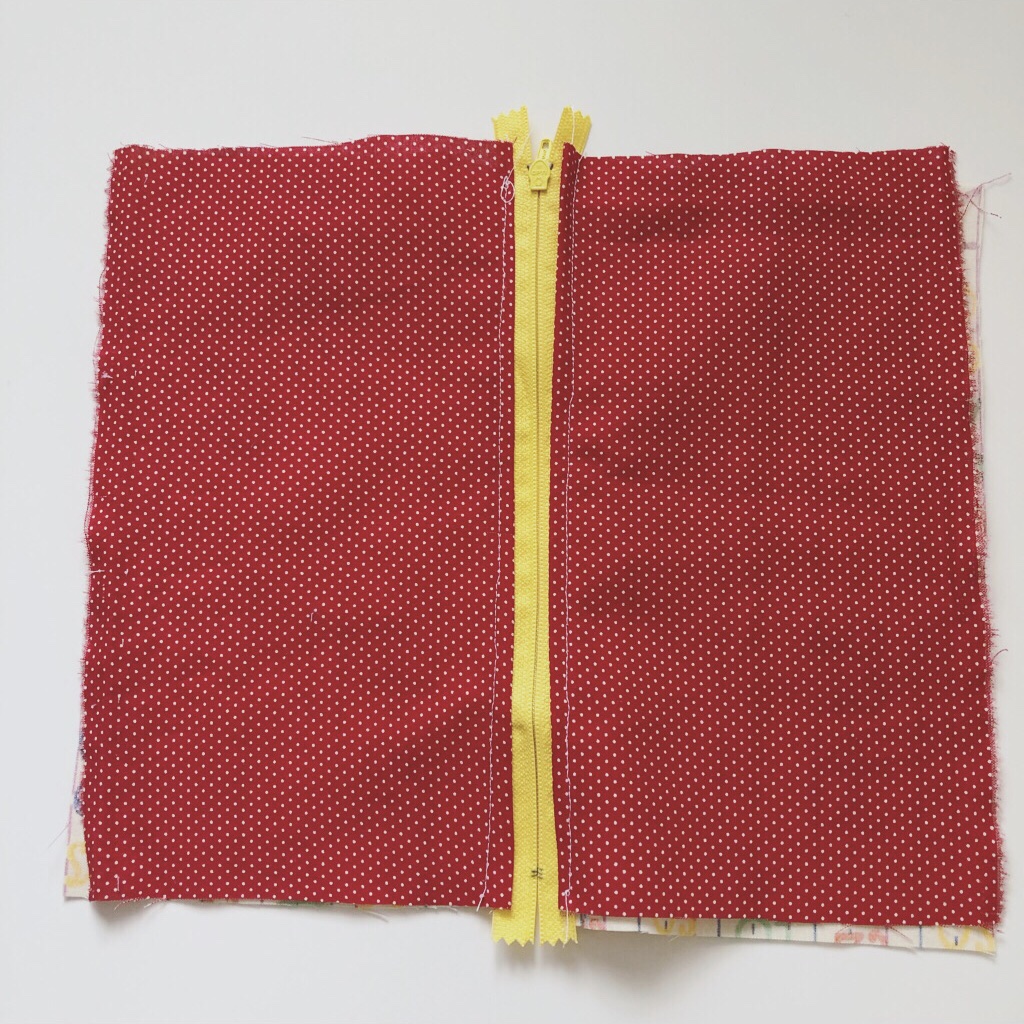
Step 12: Now match up your fabrics. Pin the right (print) sides together of the fashion fabric along the long edge. Pin the right (print) sides together of the lining fabric along the long edge. (Sewing terminology: Right sides means the print side. Not right vs left. Wrong sides means the underside. The side looking up at your right now.) Sew along the long edges of each.

You should have a tunnel.
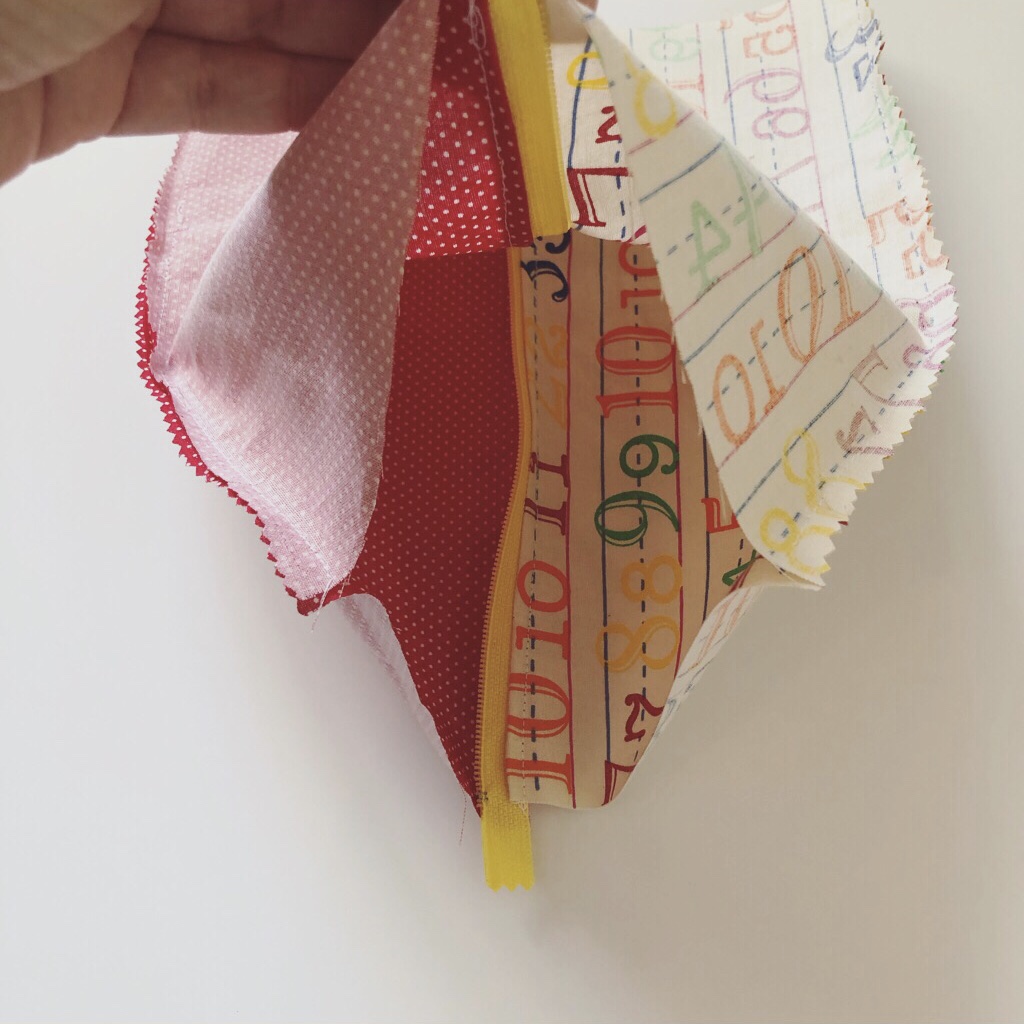
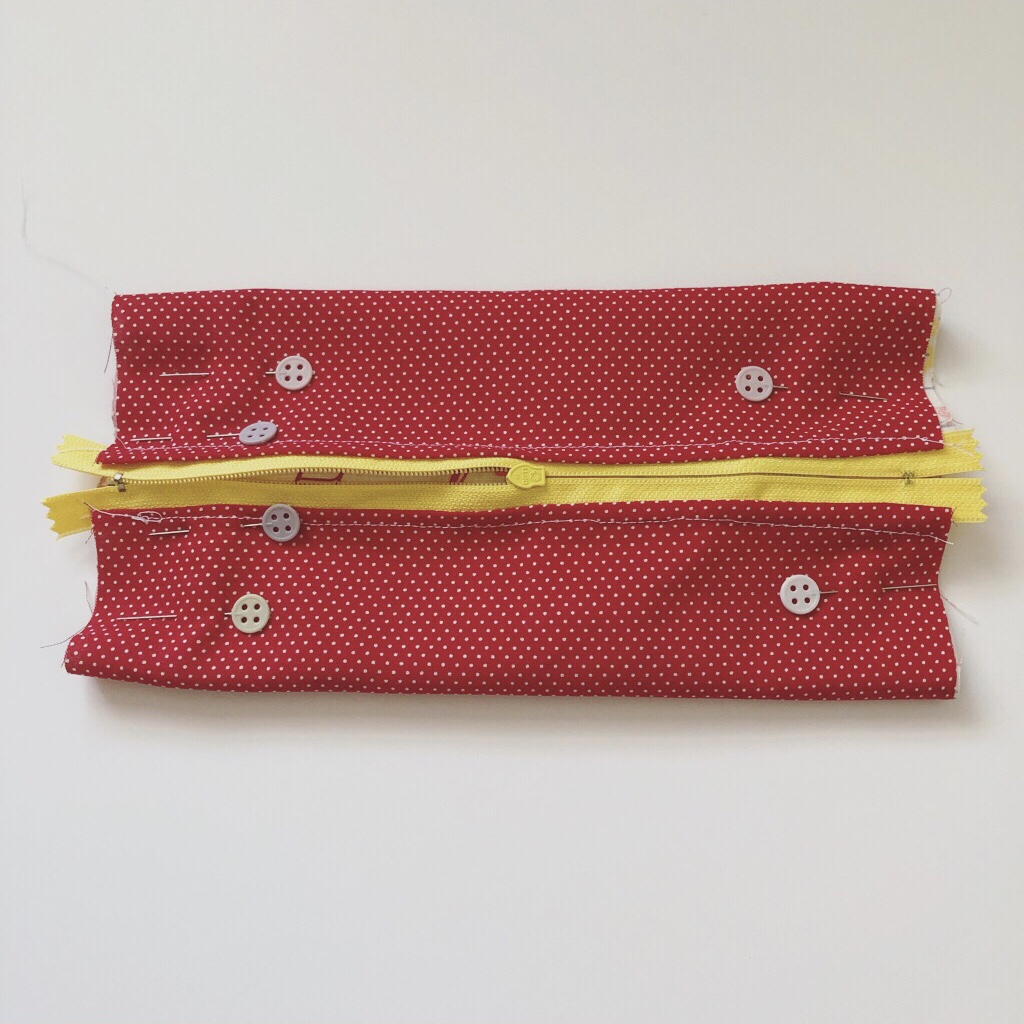
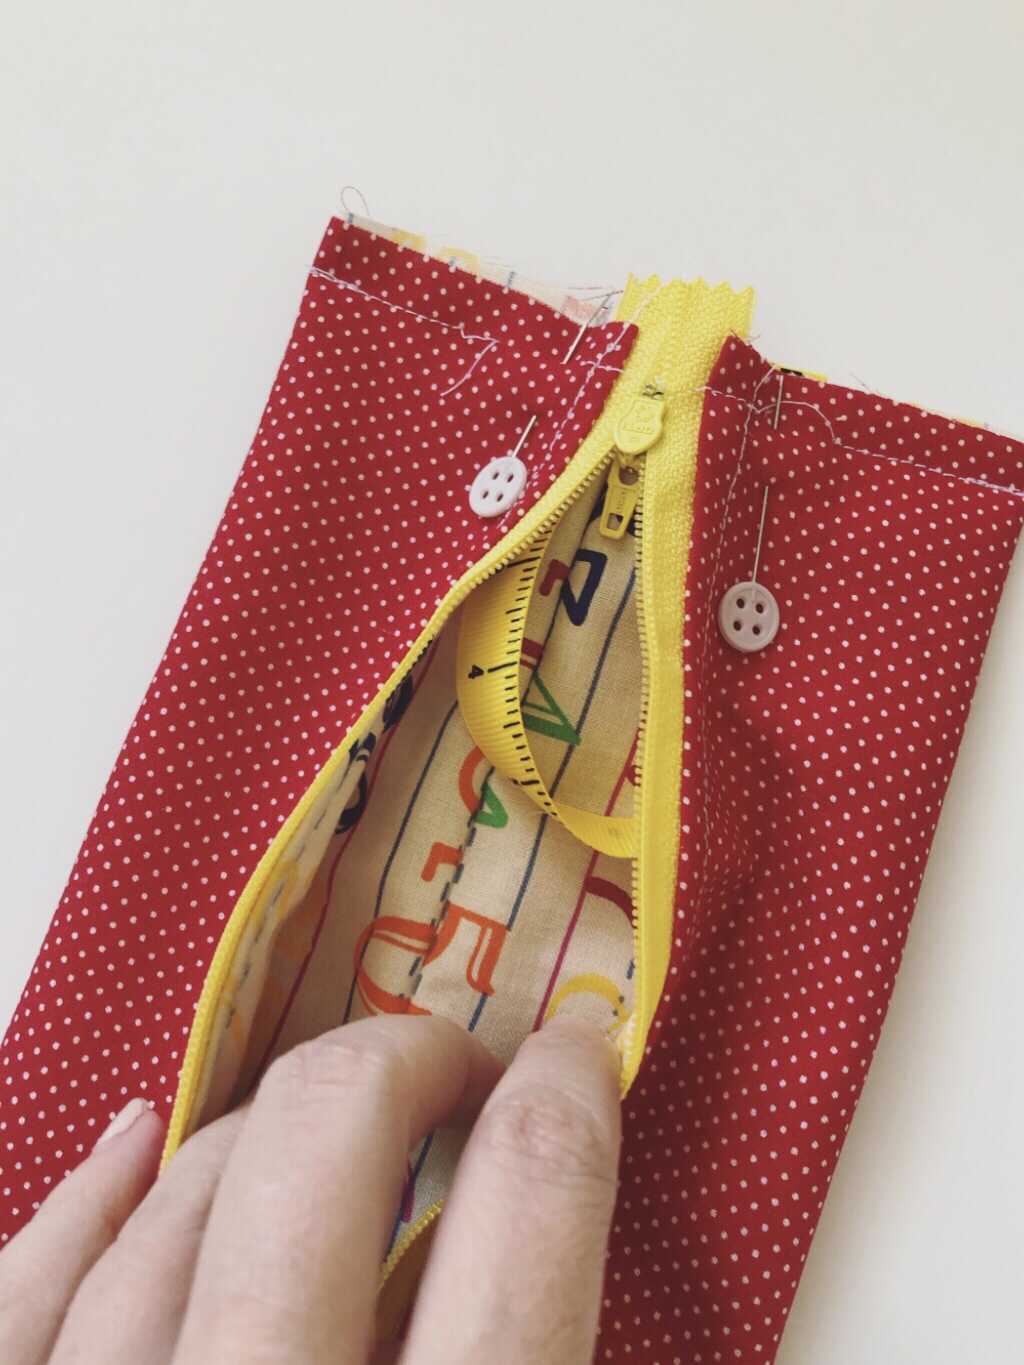
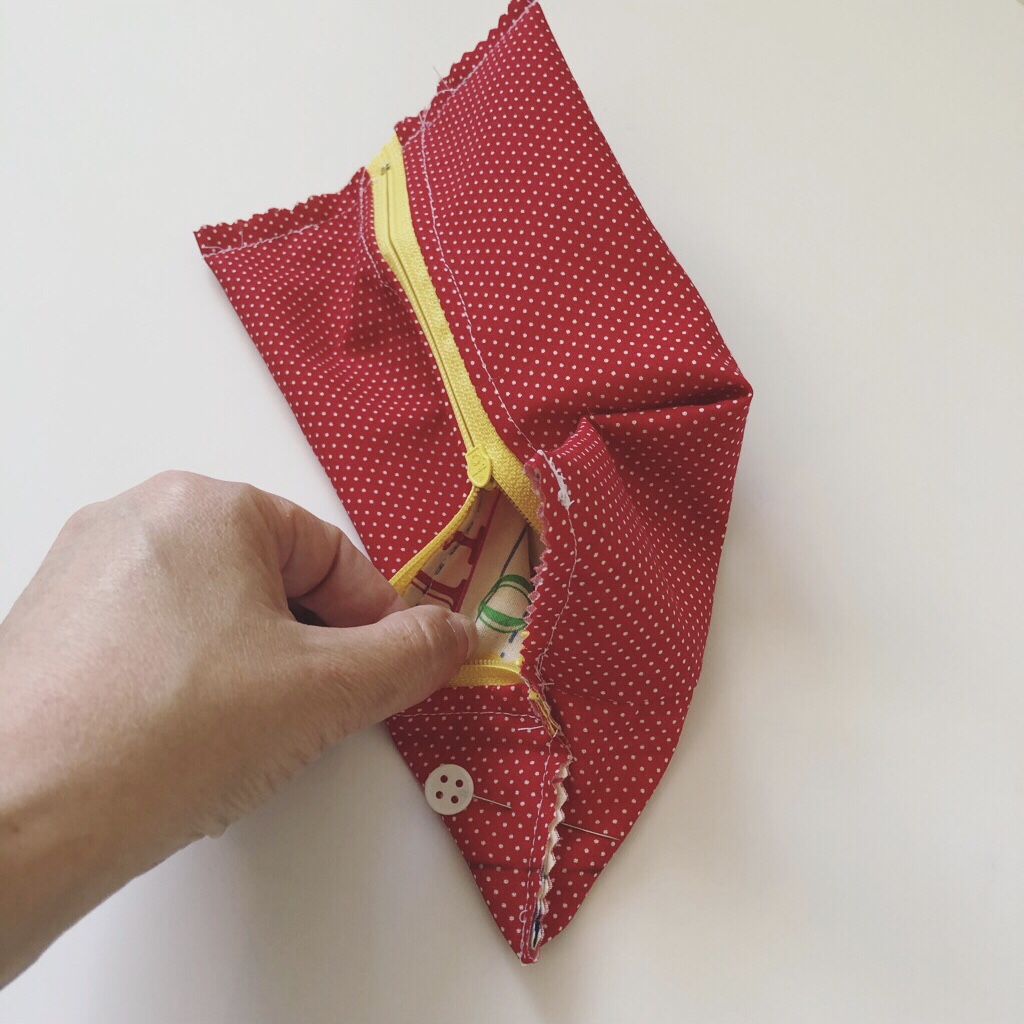
Step 13: Pull your fabric right side out so that your lining is now facing you.
Step 14: Make sure your zipper is unzipped a least half way before you pin. Flatten bag. Center your zipper tape over the middle. Pin the short edges. Make sure the zipper stops line up! (metal pieces at the bottom of the zipper.)
Step 15: If you are wanting a handle. Now is the time to insert your ribbon. I placed the ribbon ends on each side of the zipper tape. Place your ribbon on the zipper stop end of the bag. Not like I did below. whoops. It just ensures the contents wont spill out of the bag when carrying if the zipper is not fully closed.
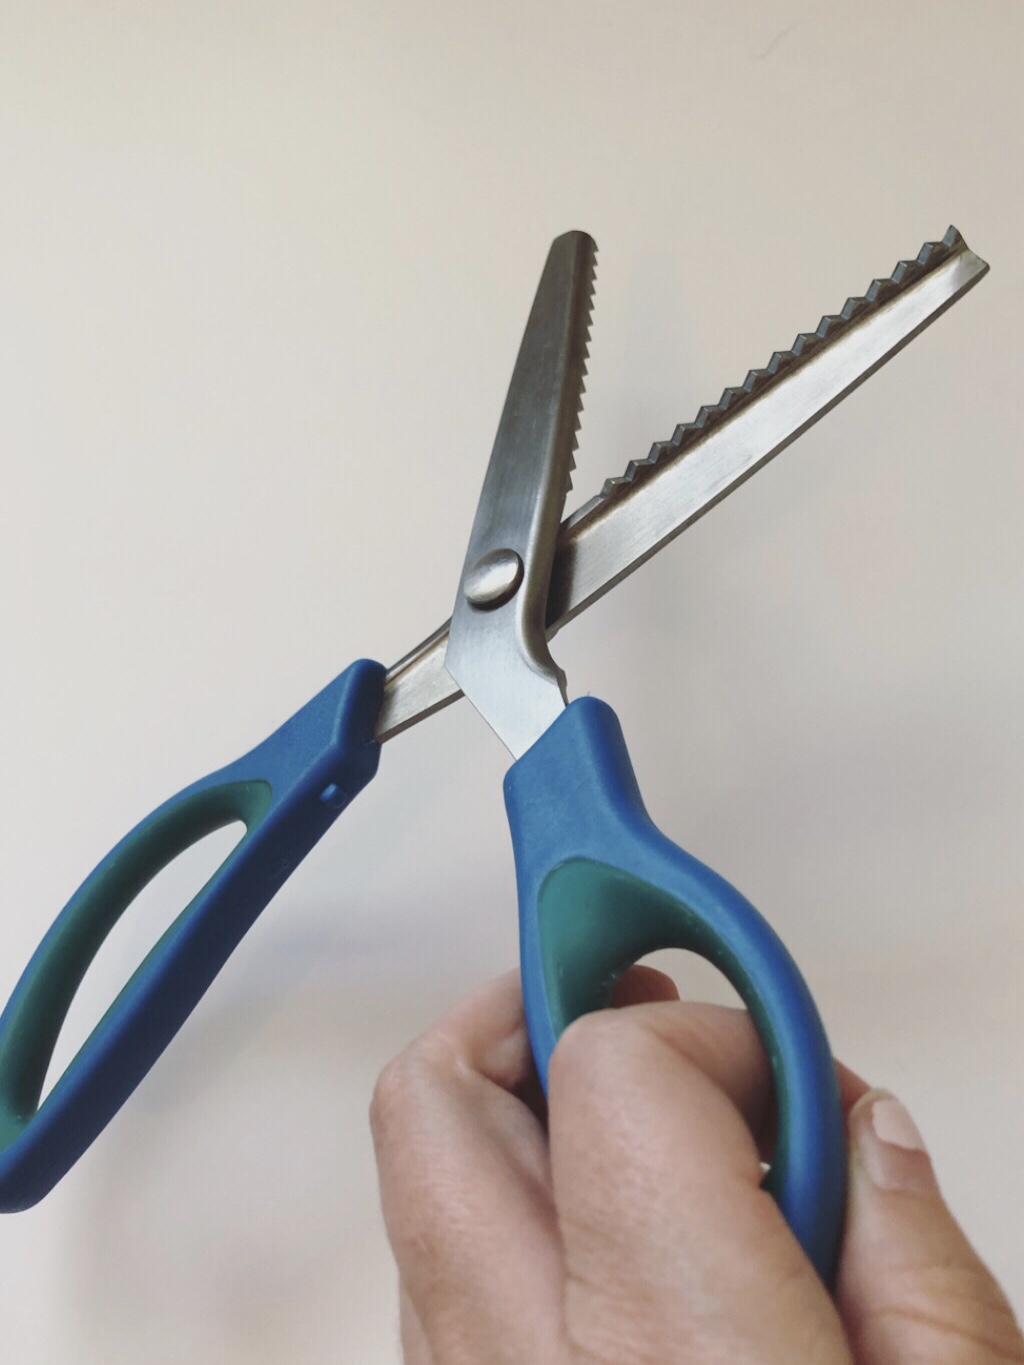
Step 16: Trim your excess seam allowance with pinking shears. It helps keep the fabric from unraveling and looks nice.

These are pinking shears. 🙂
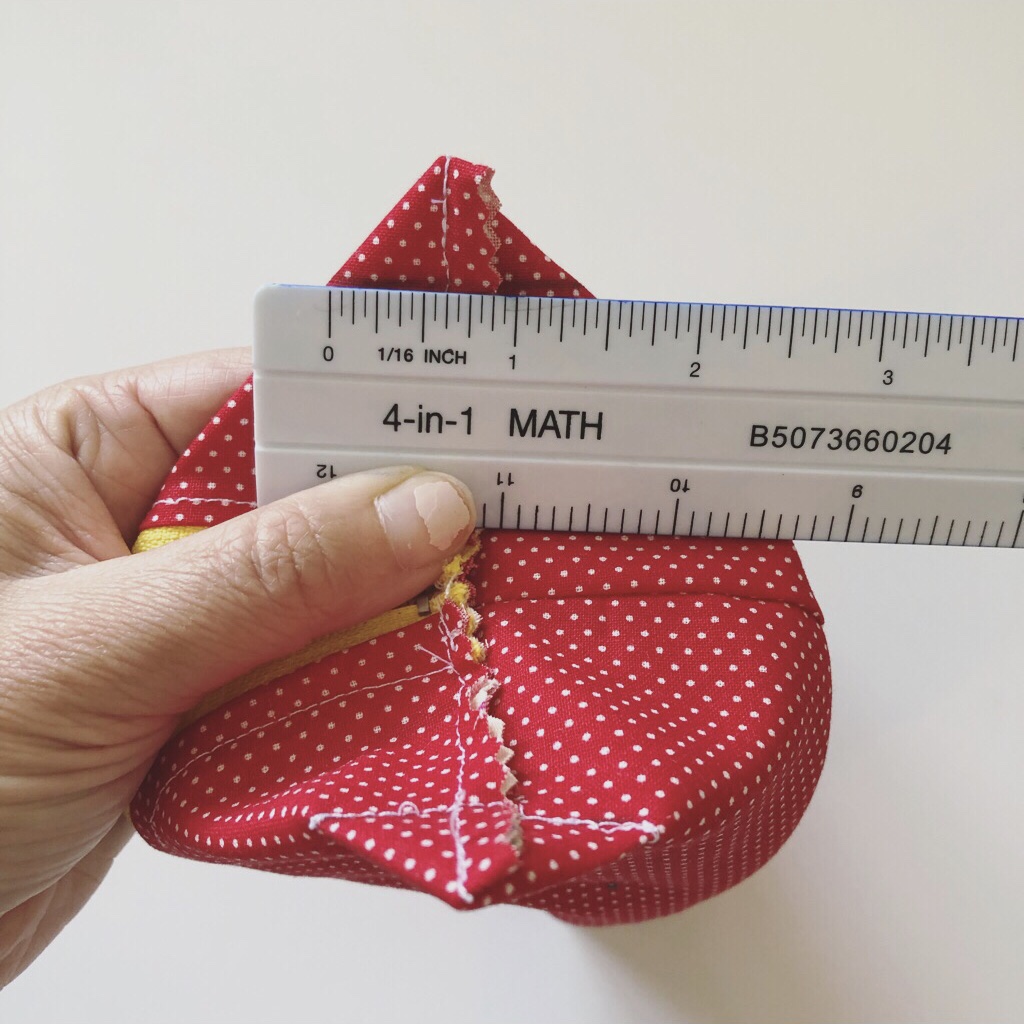
Step 17: If you want your pencil case to lie flat, you could stop here. Good Job! You’re done! But if you would like it to sit up and look like a pencil box. Continue on. We need to sew triangles on each corner. Measure out and pencil a 1 1/2″ line on each corner of the bag. Make sure you are still looking at your lining fabric. Your fashion fabric should be hiding inside your bag. Reminder to myself: paint nails before sewing tutorials. 😉
Step 18: I like to pin down the corner above the line I just drew. It keeps it flat while stitching. Now sew along that 1 1/2″ pencil line on all four corners.
Step 19: Trim excess seam allowance of all four corners with your pinking shears.
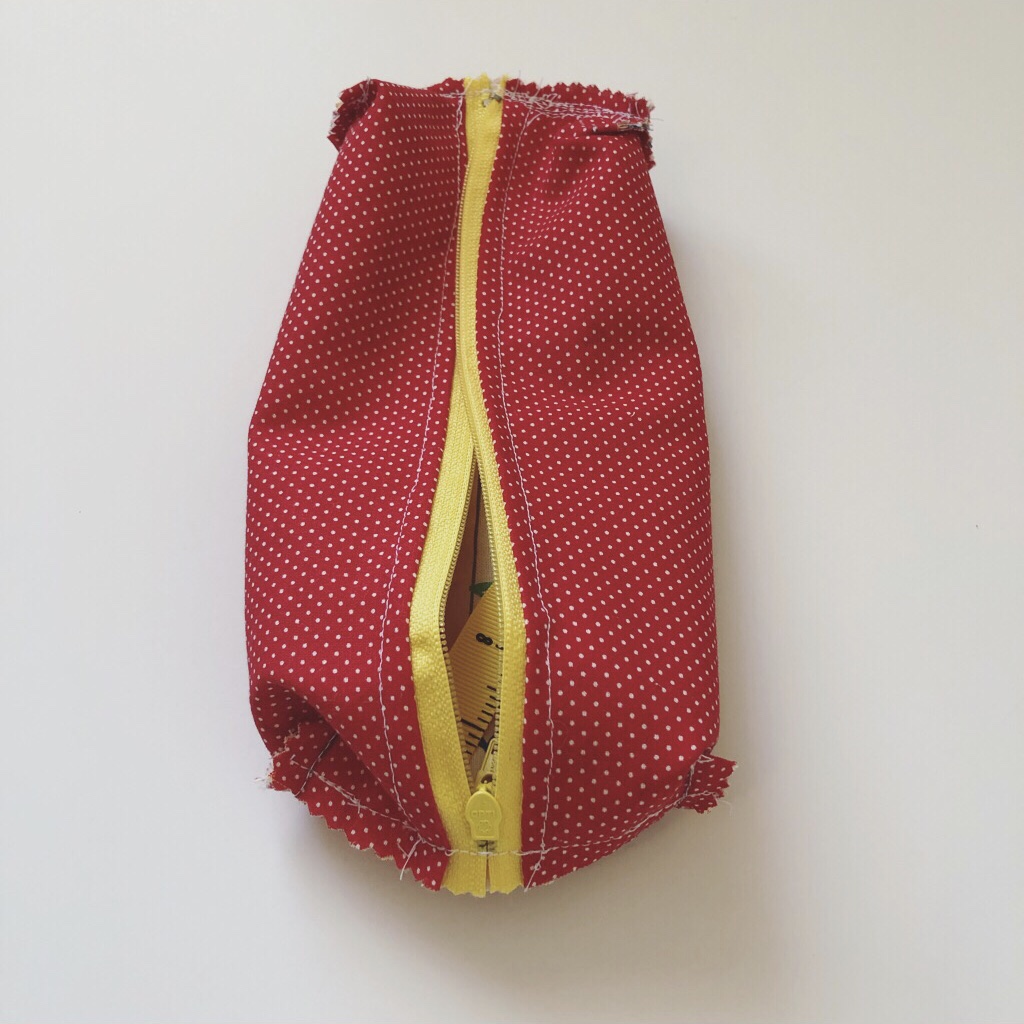
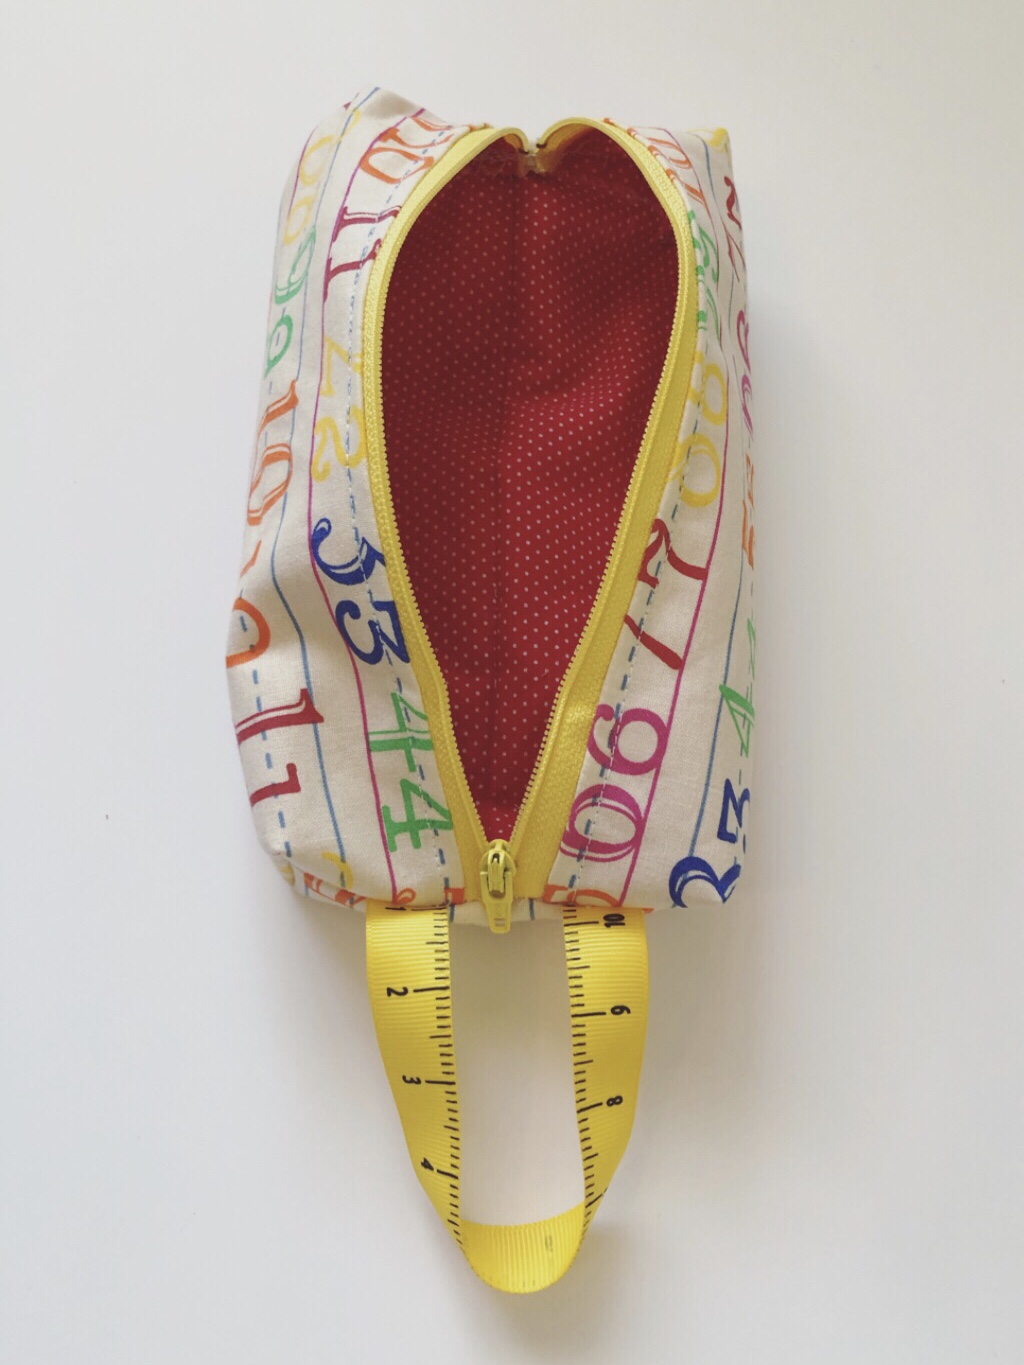
Step 20: Now the fun part! Turn your whole bag right side out. Ta Da! You are done!
Give your zipper one last test.
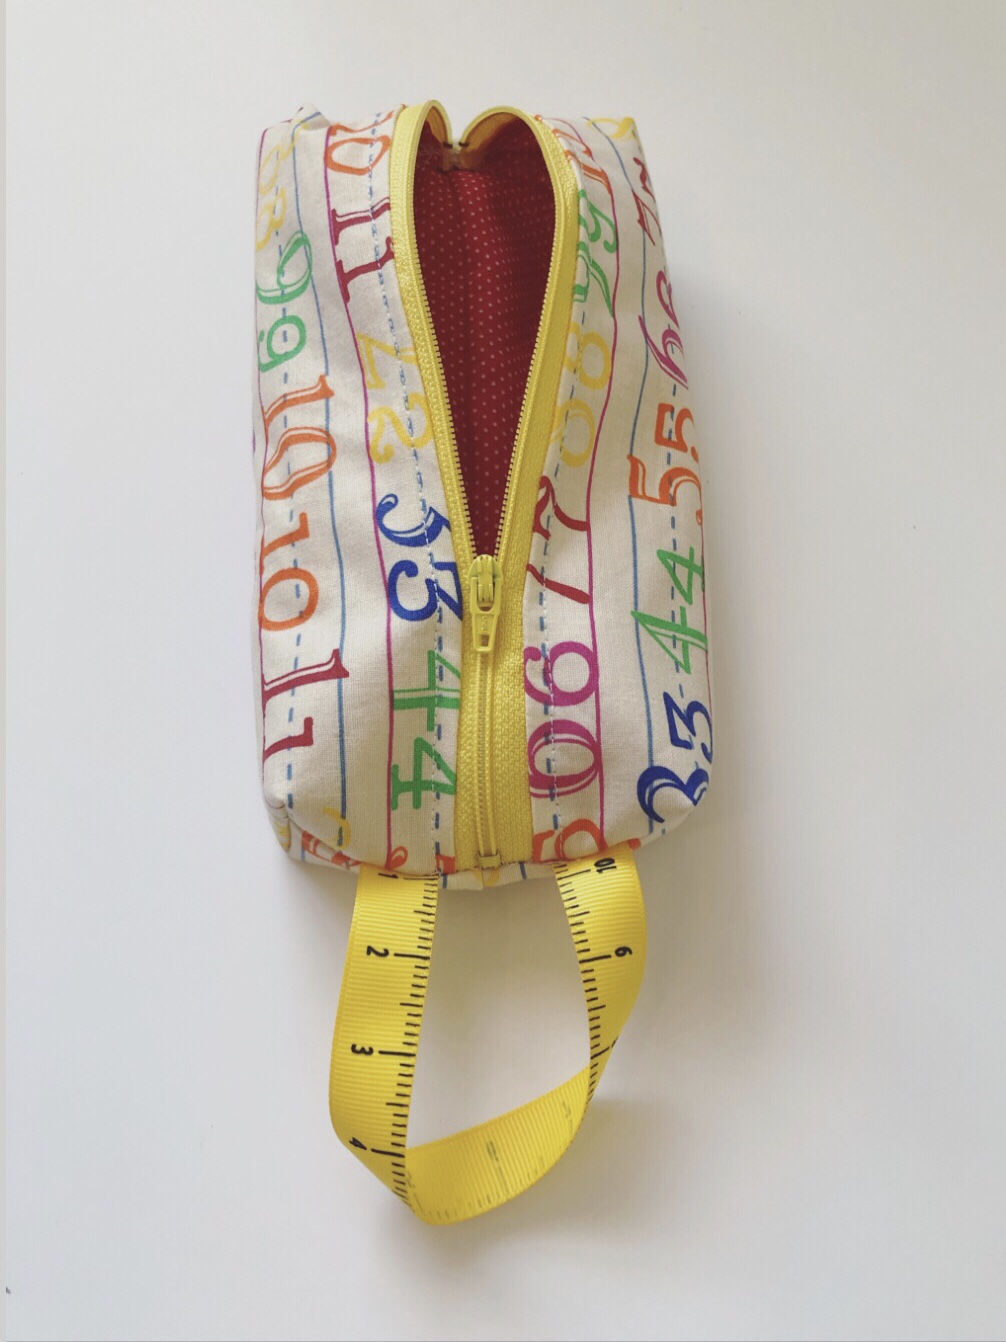
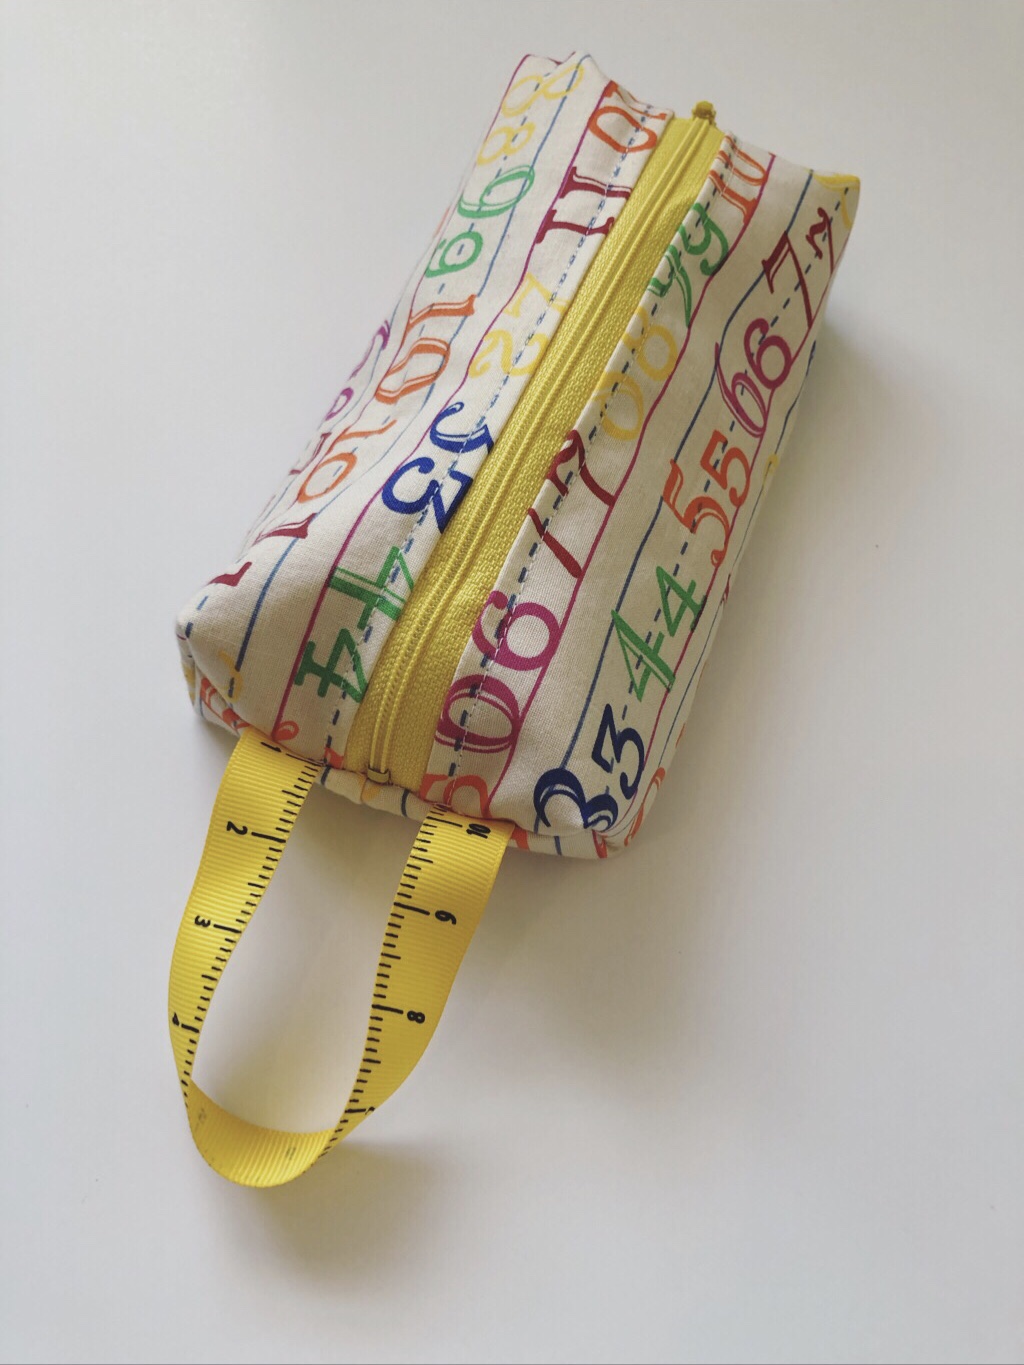
See I placed the ribbon on the bottom of the bag. Don’t be like me. It’s hard sewing and taking photos I guess. 😉
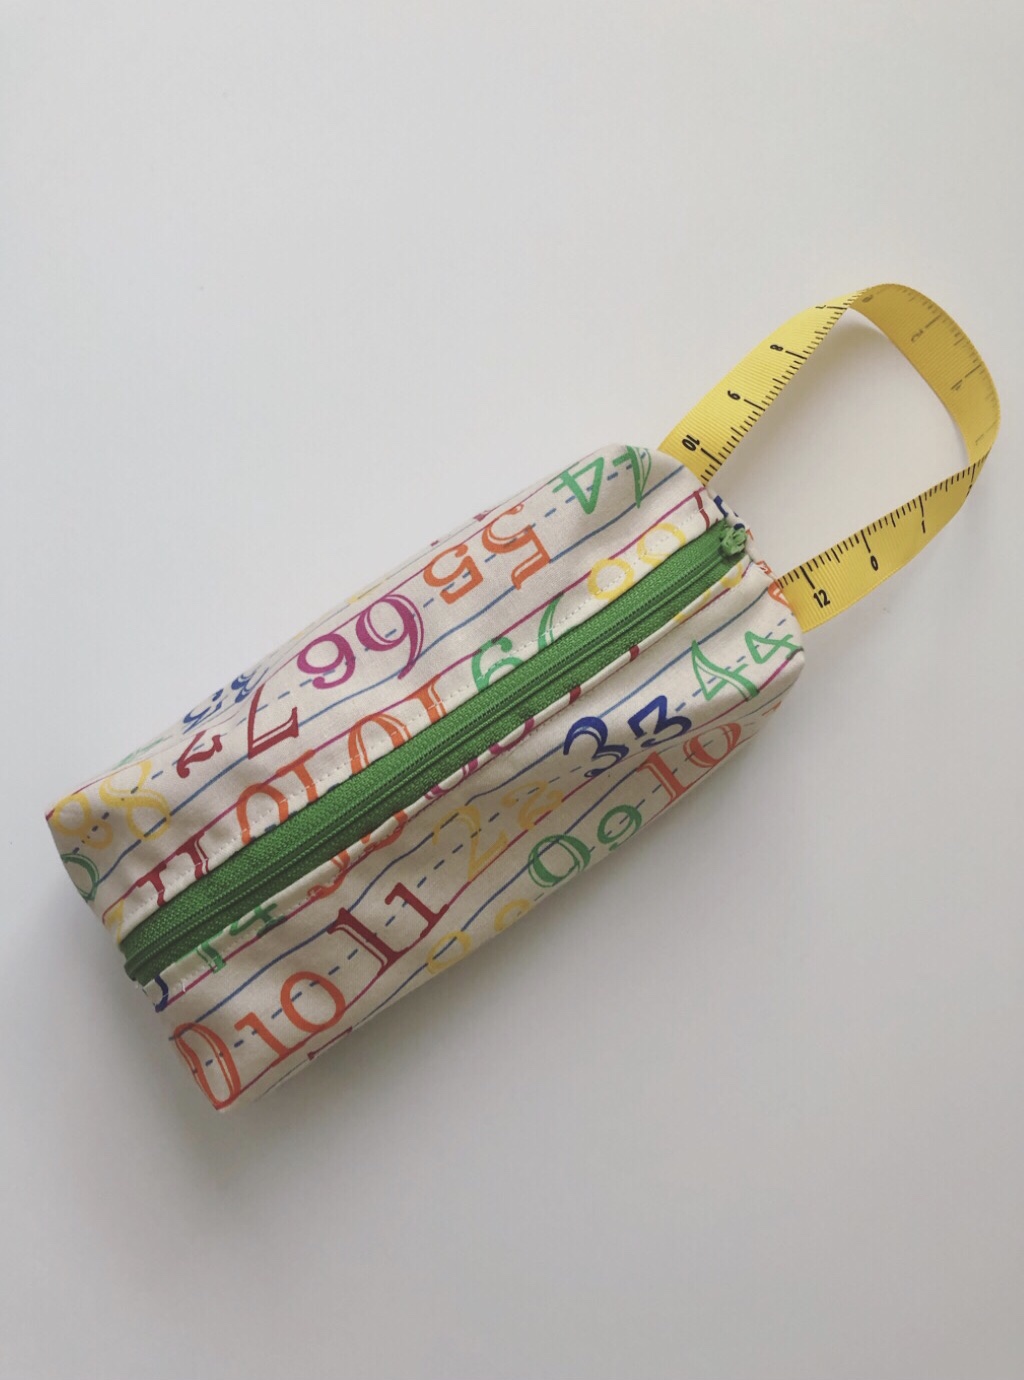
Little brother wanted a bag to match his big sister. I placed the handle at the top of the bag this time and REDEEMED myself! 😀

This is so cute Steffy! Love it!! You make it look so easy lol … ❤❤❤
Thank you:)
Thank you! 🙂
Oh my goodness, these pencil cases are so cute! My daughter likes sewing; I should have her take a look at this sewing project.
Let me know what she thinks! 🙂
I hope she likes it!
These are so cute. I would have never thought to make pencils pouches for my kids. I could totally put this together! Thanks for posting.
Thank you! 🙂
They are fun! 🙂
I’m such a huge fan of crafts/DIY stuff so I totally wanna try this!! thanks for sharing!
You’re welcome! 🙂
Youre welcome. 🙂