
My baby girl turned one this month. I can’t even think about it without getting misty. So let’s not talk about that. Let’s talk sewing! I love dressing my daughter in clothes that show off her adorable cloth diapers. I have always adored swing tops and finally got around to making one. It is a pretty simple pattern and super easy to construct. I added a ruffle to mine, but you can leave it out if you wish. Here is how I made her swing dress.
Supplies:
Pink thread
Scissors
2 Buttons or a button kit if you’d like to make your own buttons
2.5 yards of fabric:
1 yd light pink cotton for fashion fabric
1 yd dark pink cotton for lining fabric
.5 yd of medium pink cotton for ruffle
Pattern:
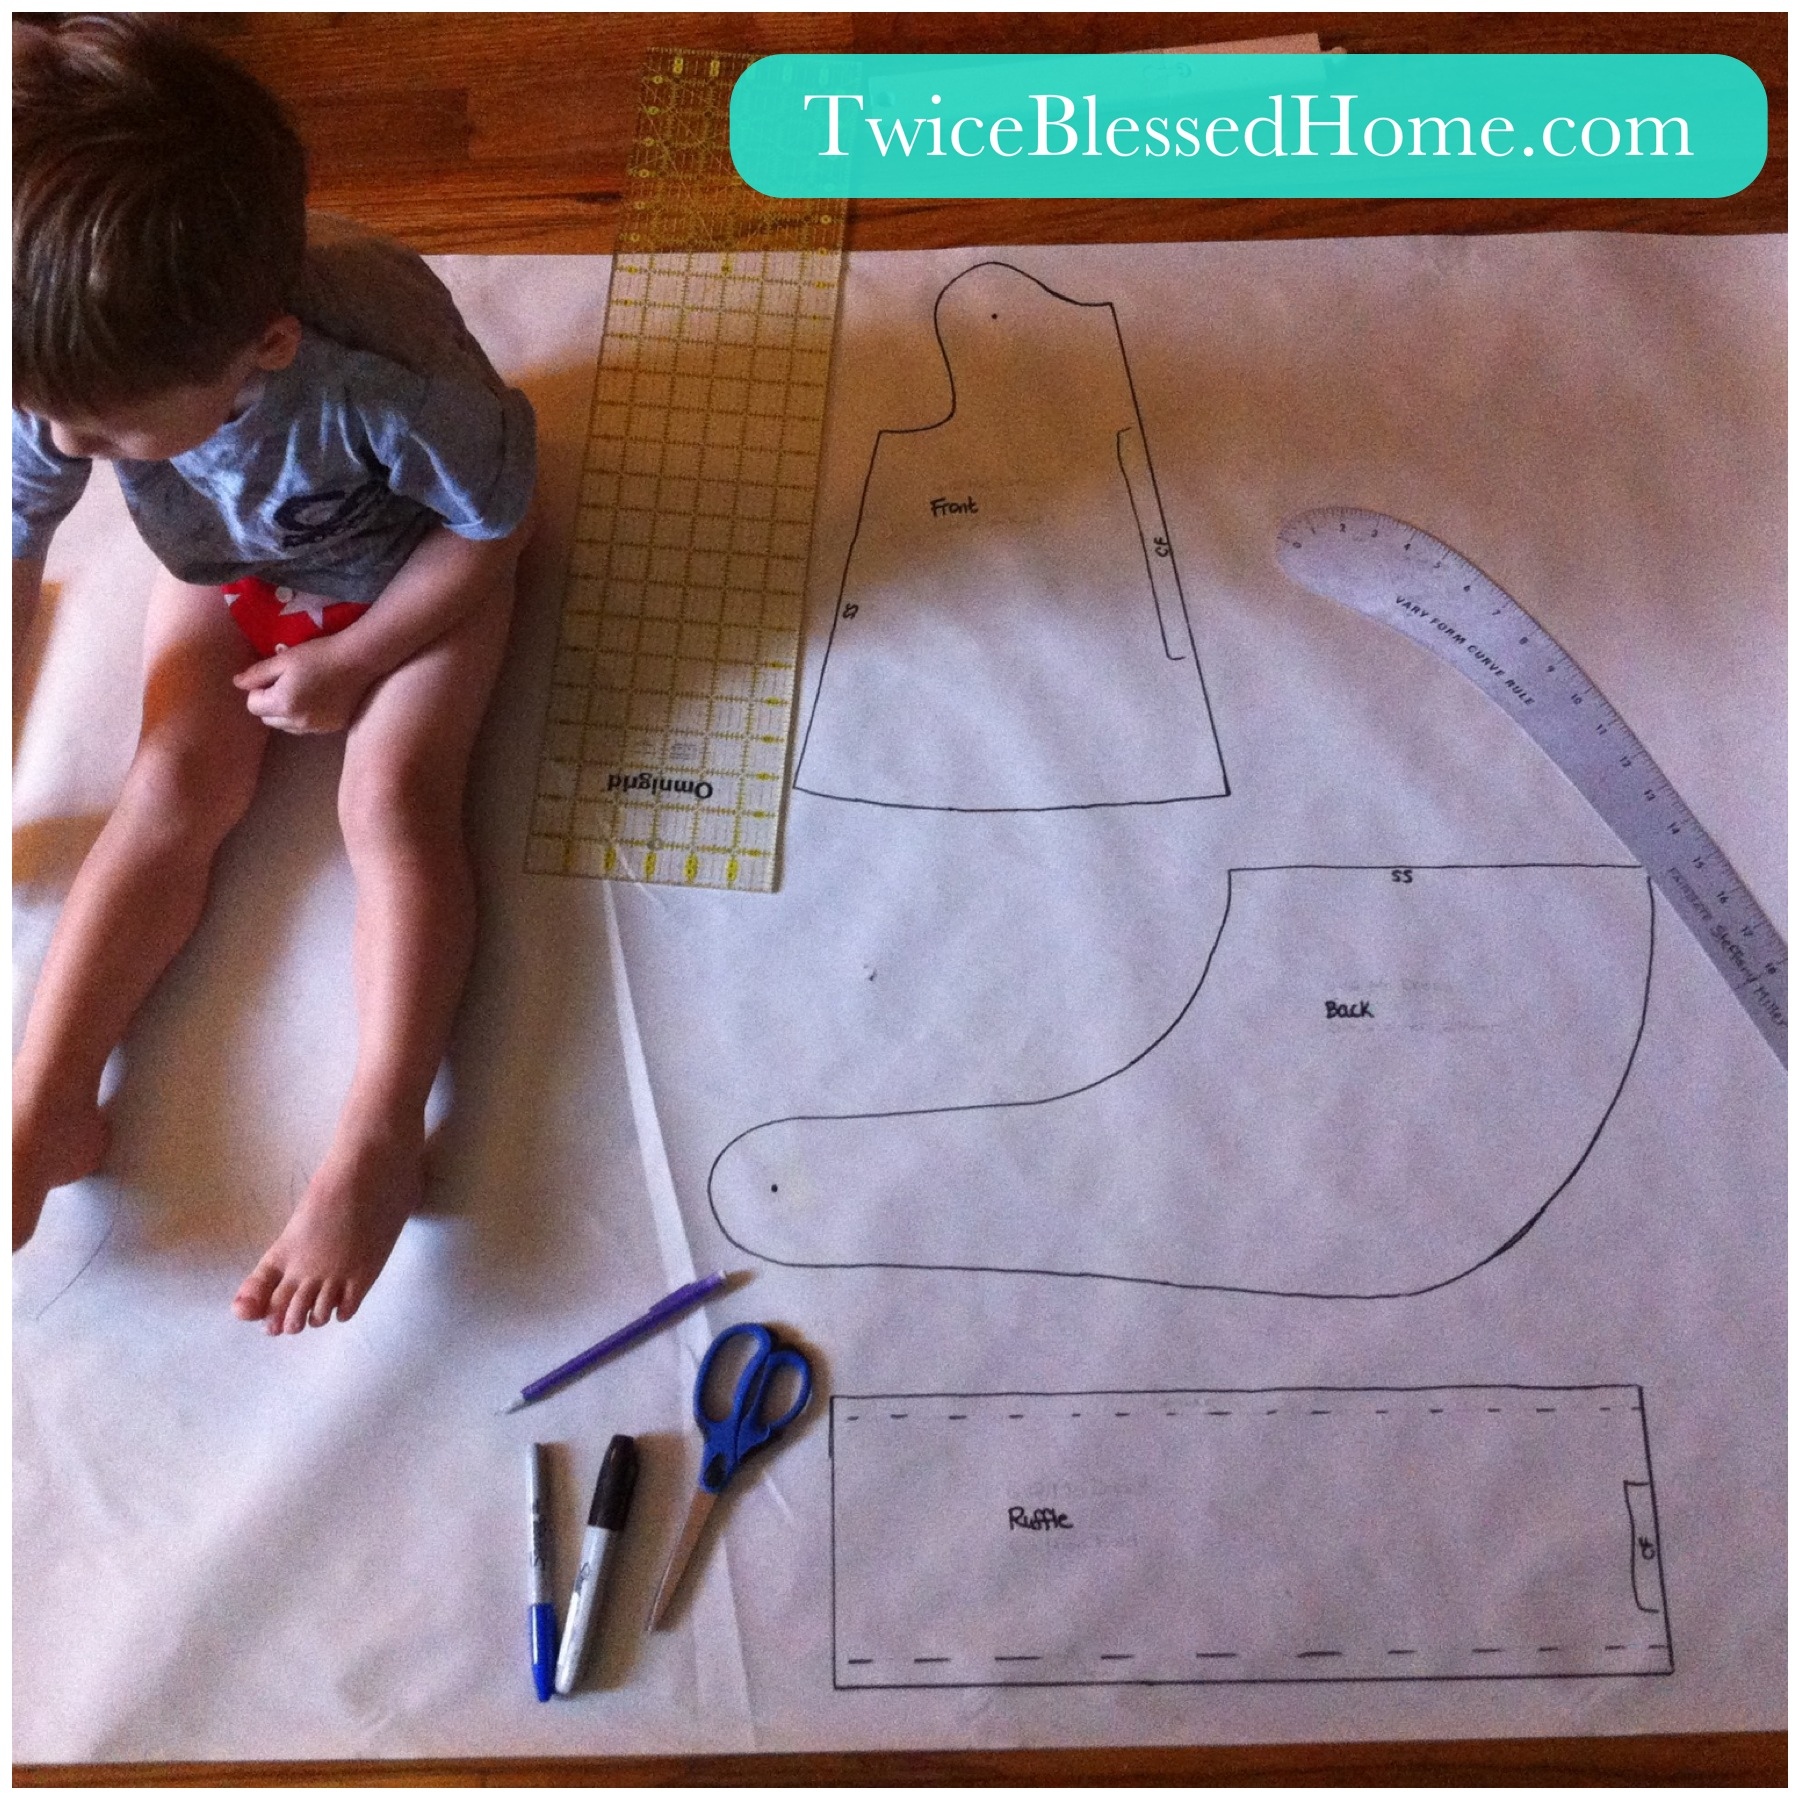
I made the pattern and am working on scanning it in to make available to print. It is a very simple pattern to use. The pattern already has a .5″ seam allowance so keep that in mind when cutting. The pattern includes: front (A), back (B), and ruffle (C) which is optional. I think it came out a bit bigger than I would like, so I would say this is a 12-18 month size. It fits like a dress on my 12 month old and will hopefully still fit as a top next year. So she will get a lot of use out of it. Which makes mama happy.
My 2 year old assistant helping me draft the pattern.
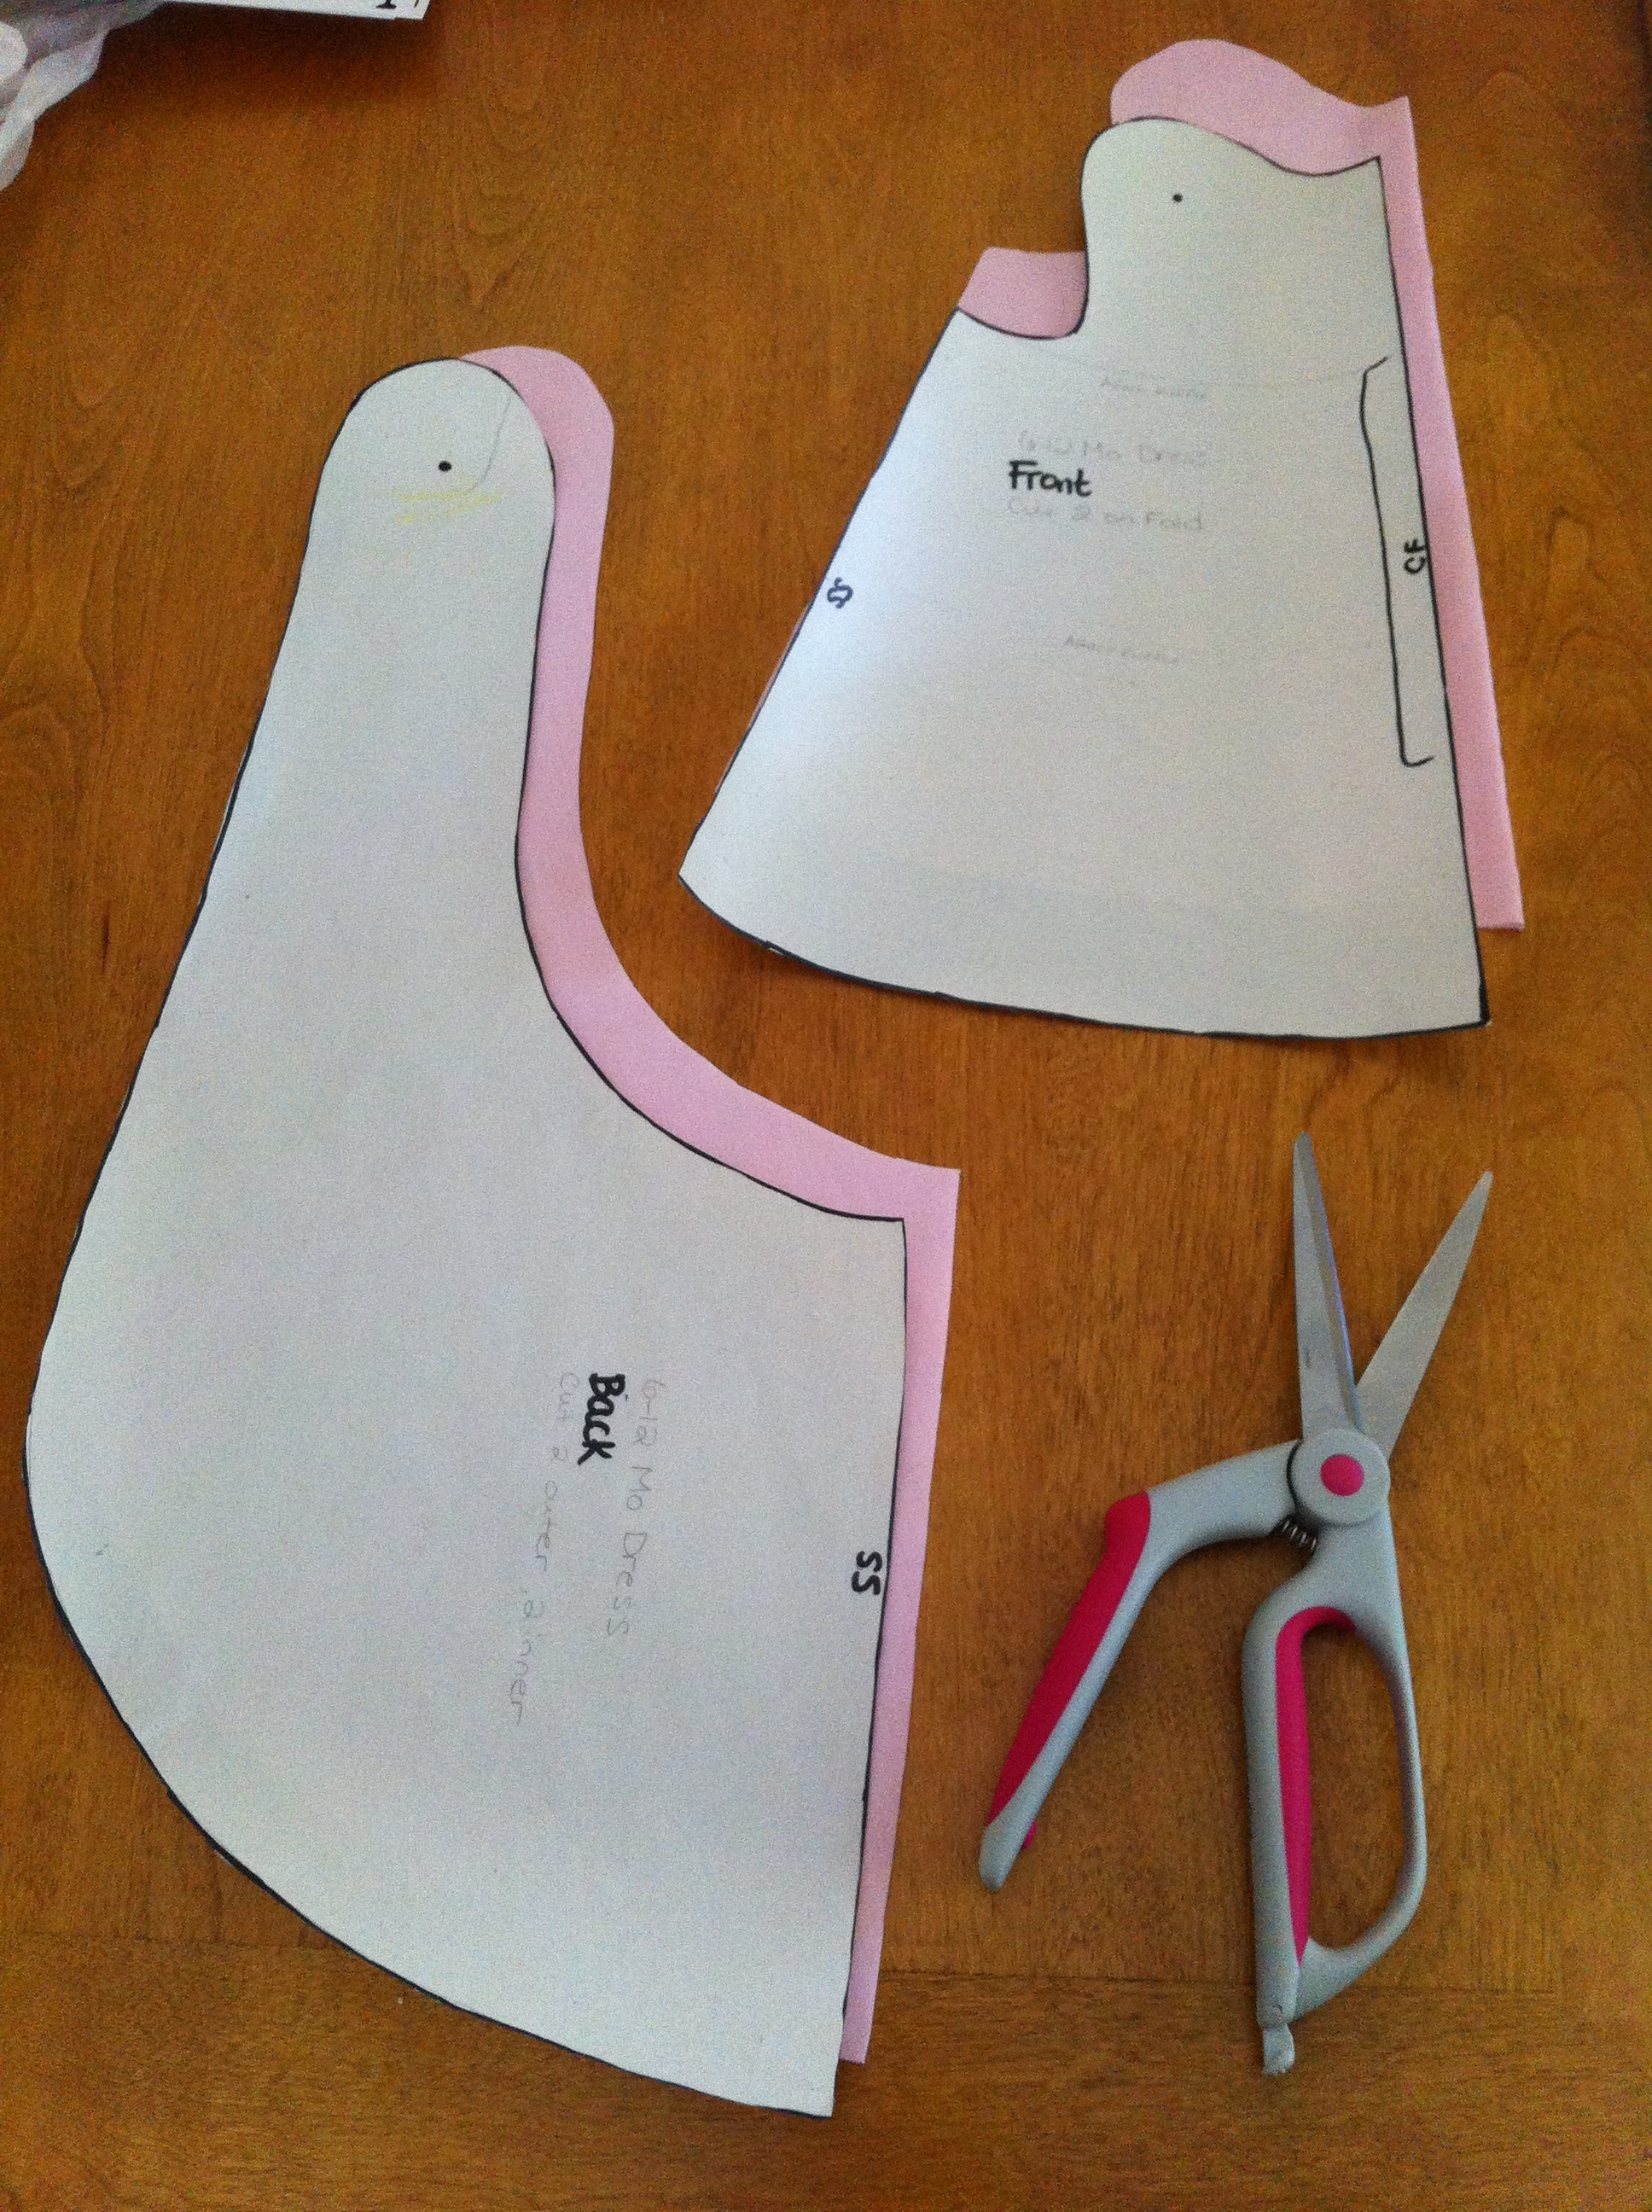
Here is the finished pattern and fabric. I chose shades of pink to match her ‘Ombre Pink’ themed party.

Ruffle Swing Dress Tutorial:
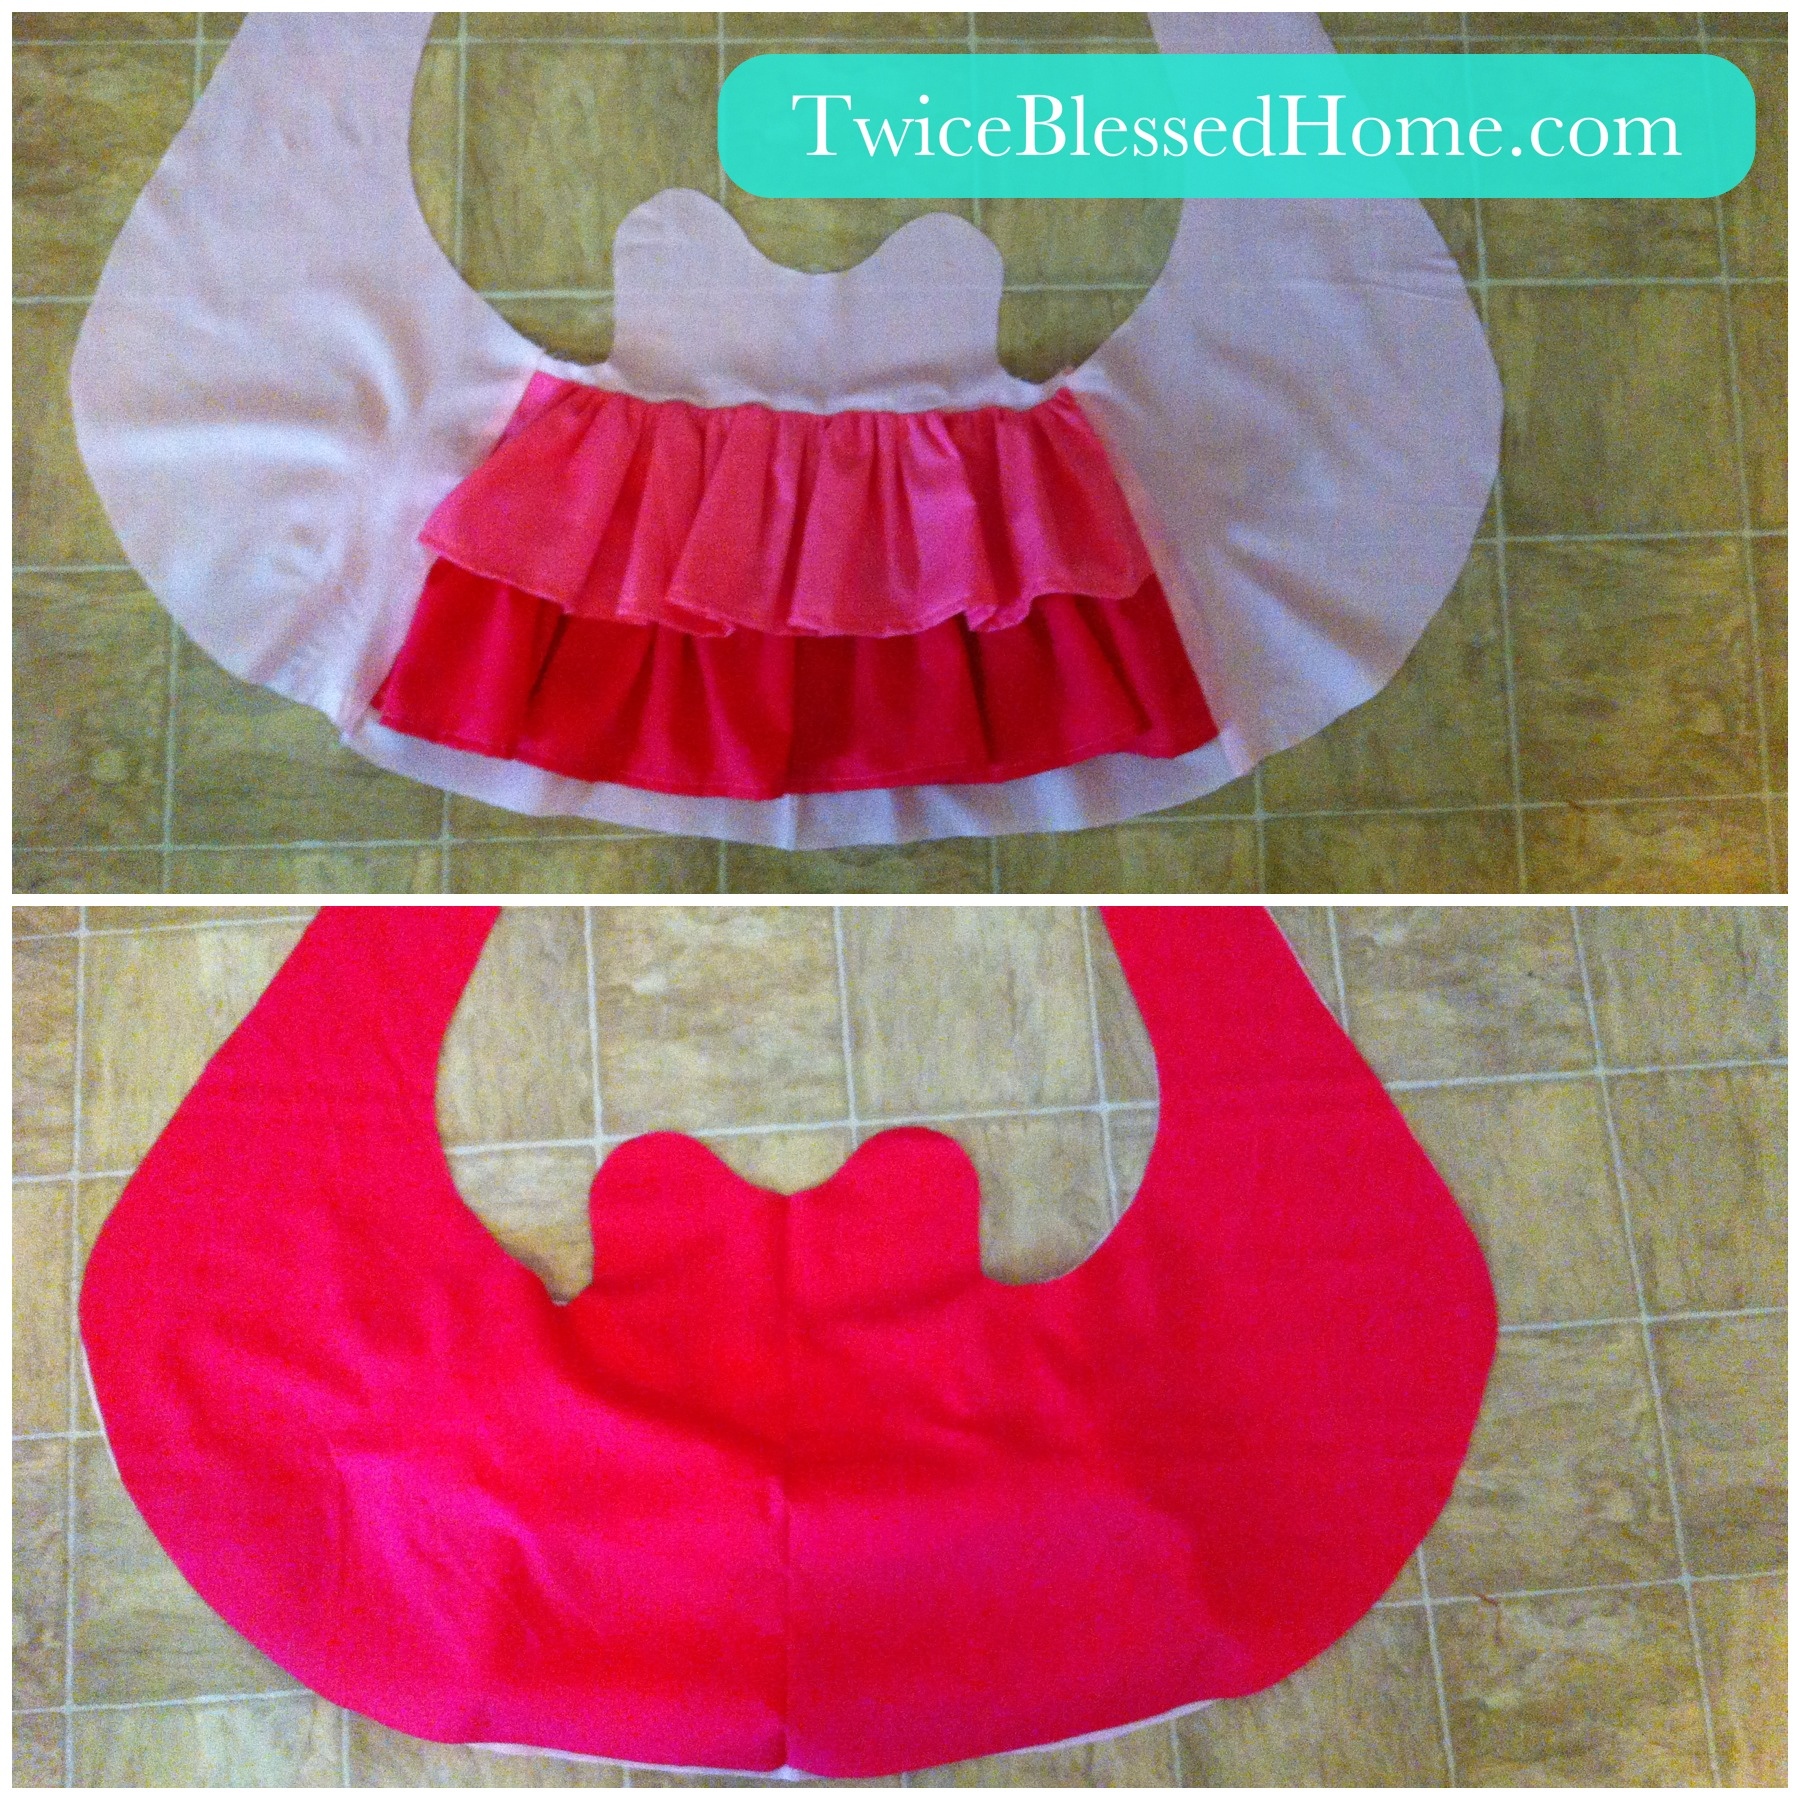
First cut out your fashion fabric using pattern A (front) and B (back). Pattern A is cut on fold.
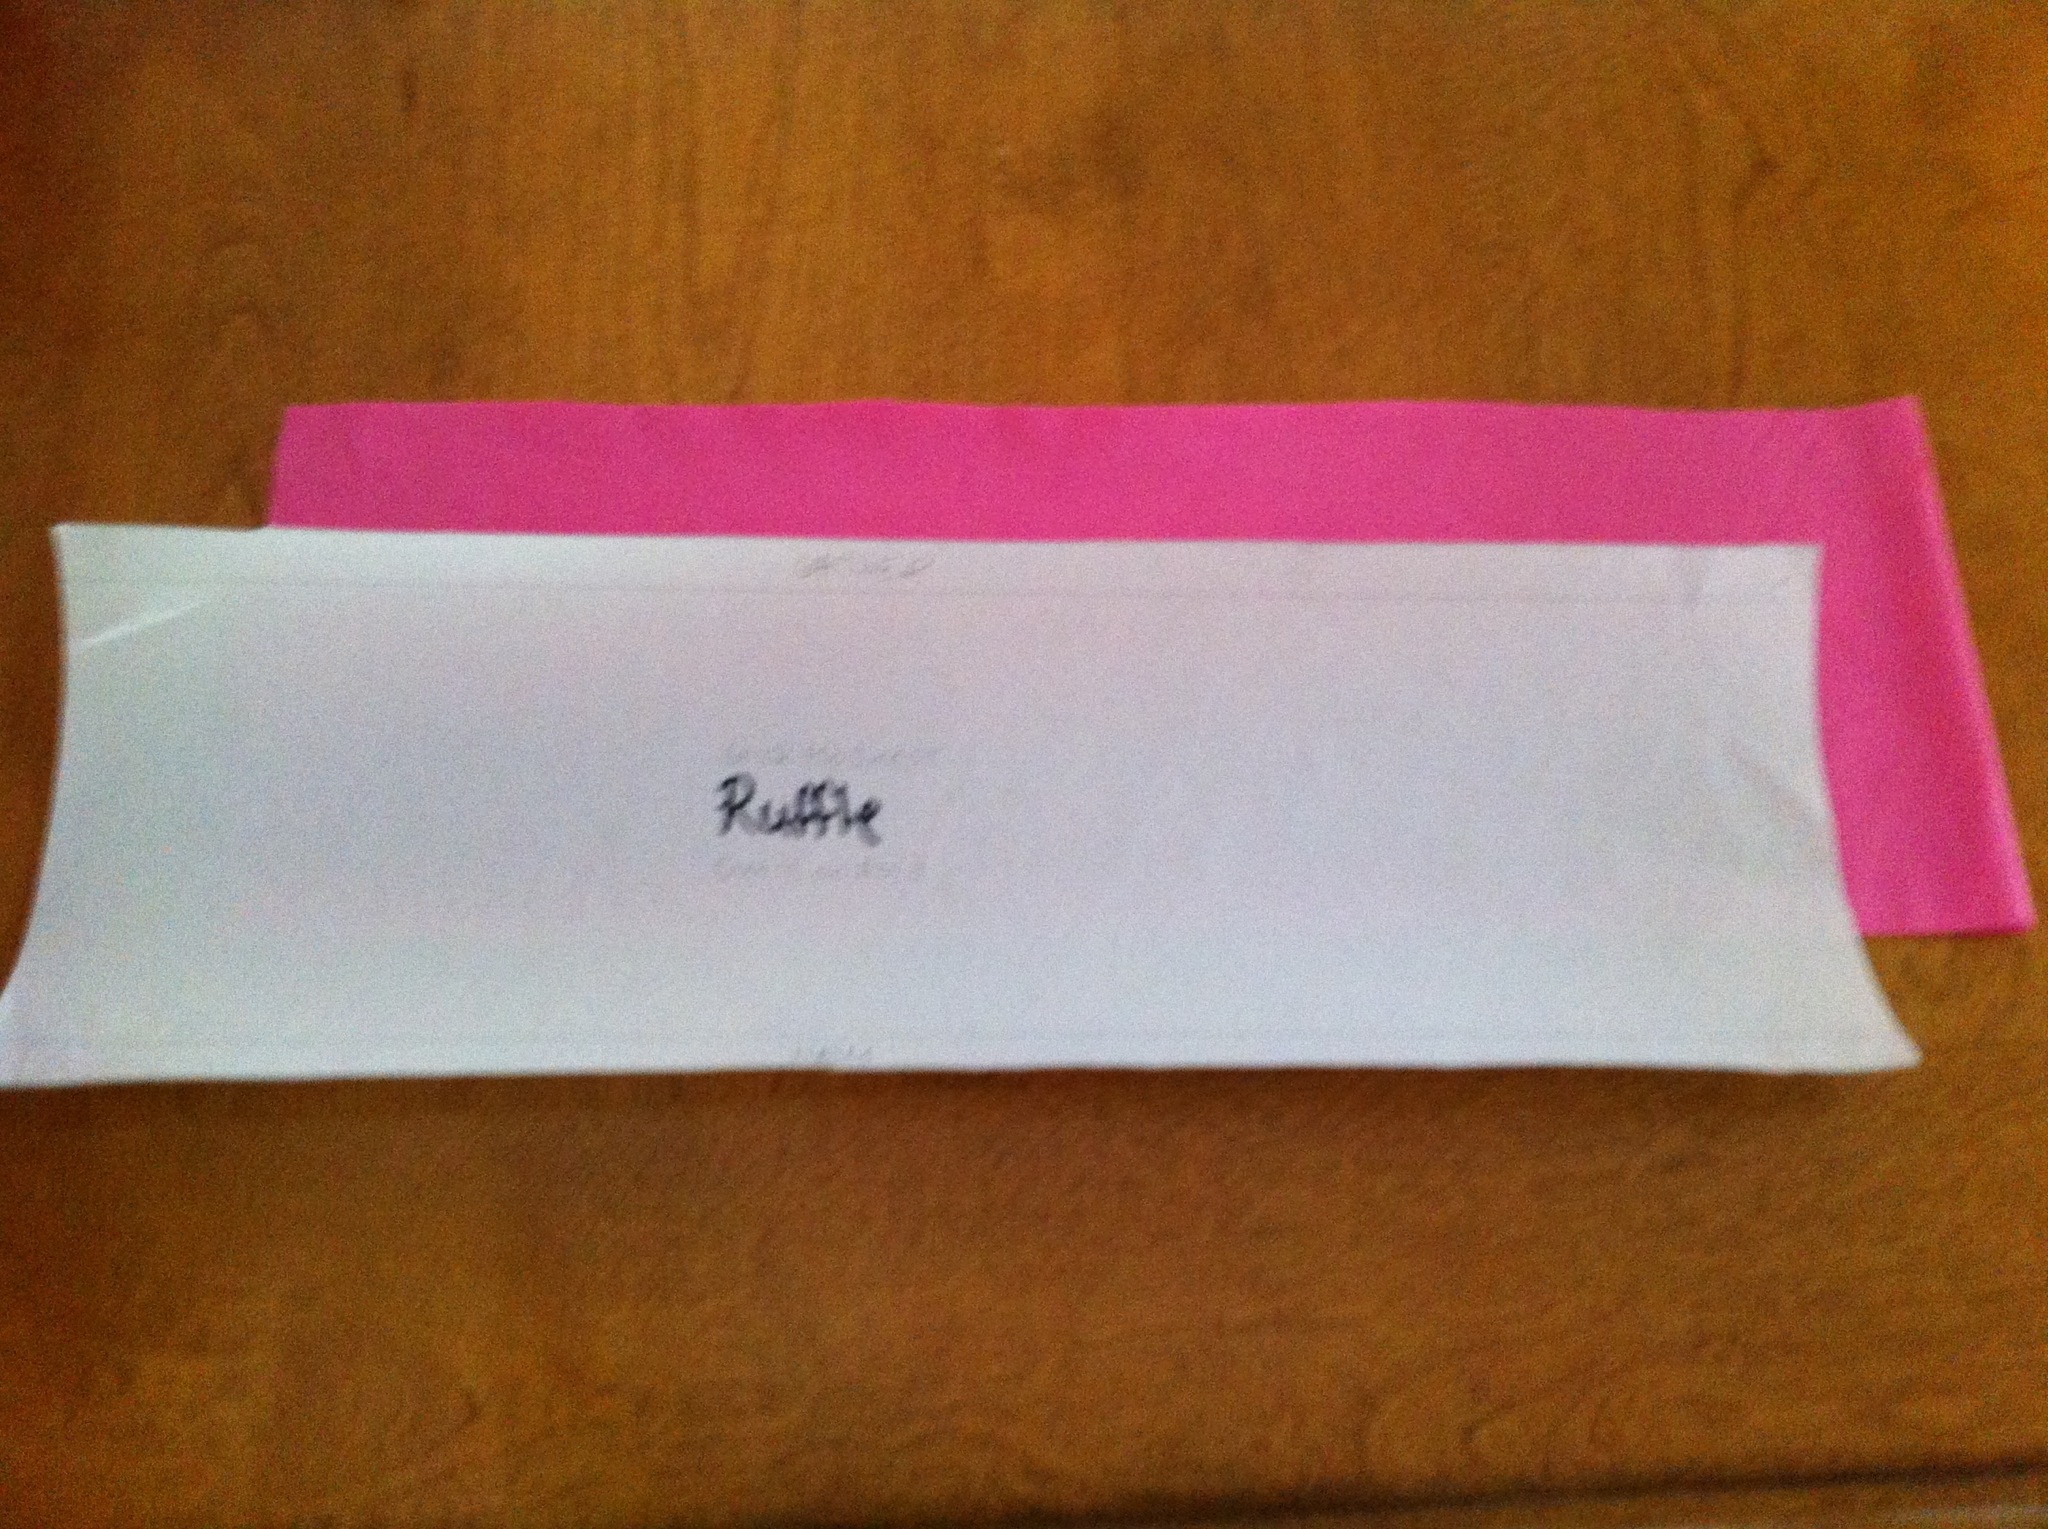
Cut out your lining fabric using all 3 patterns. You can eliminate the side seam by overlapping pattern A and B each half an inch. That’s one less seam you’ll have to sew later. Pattern C (ruffle) is cut on fold.
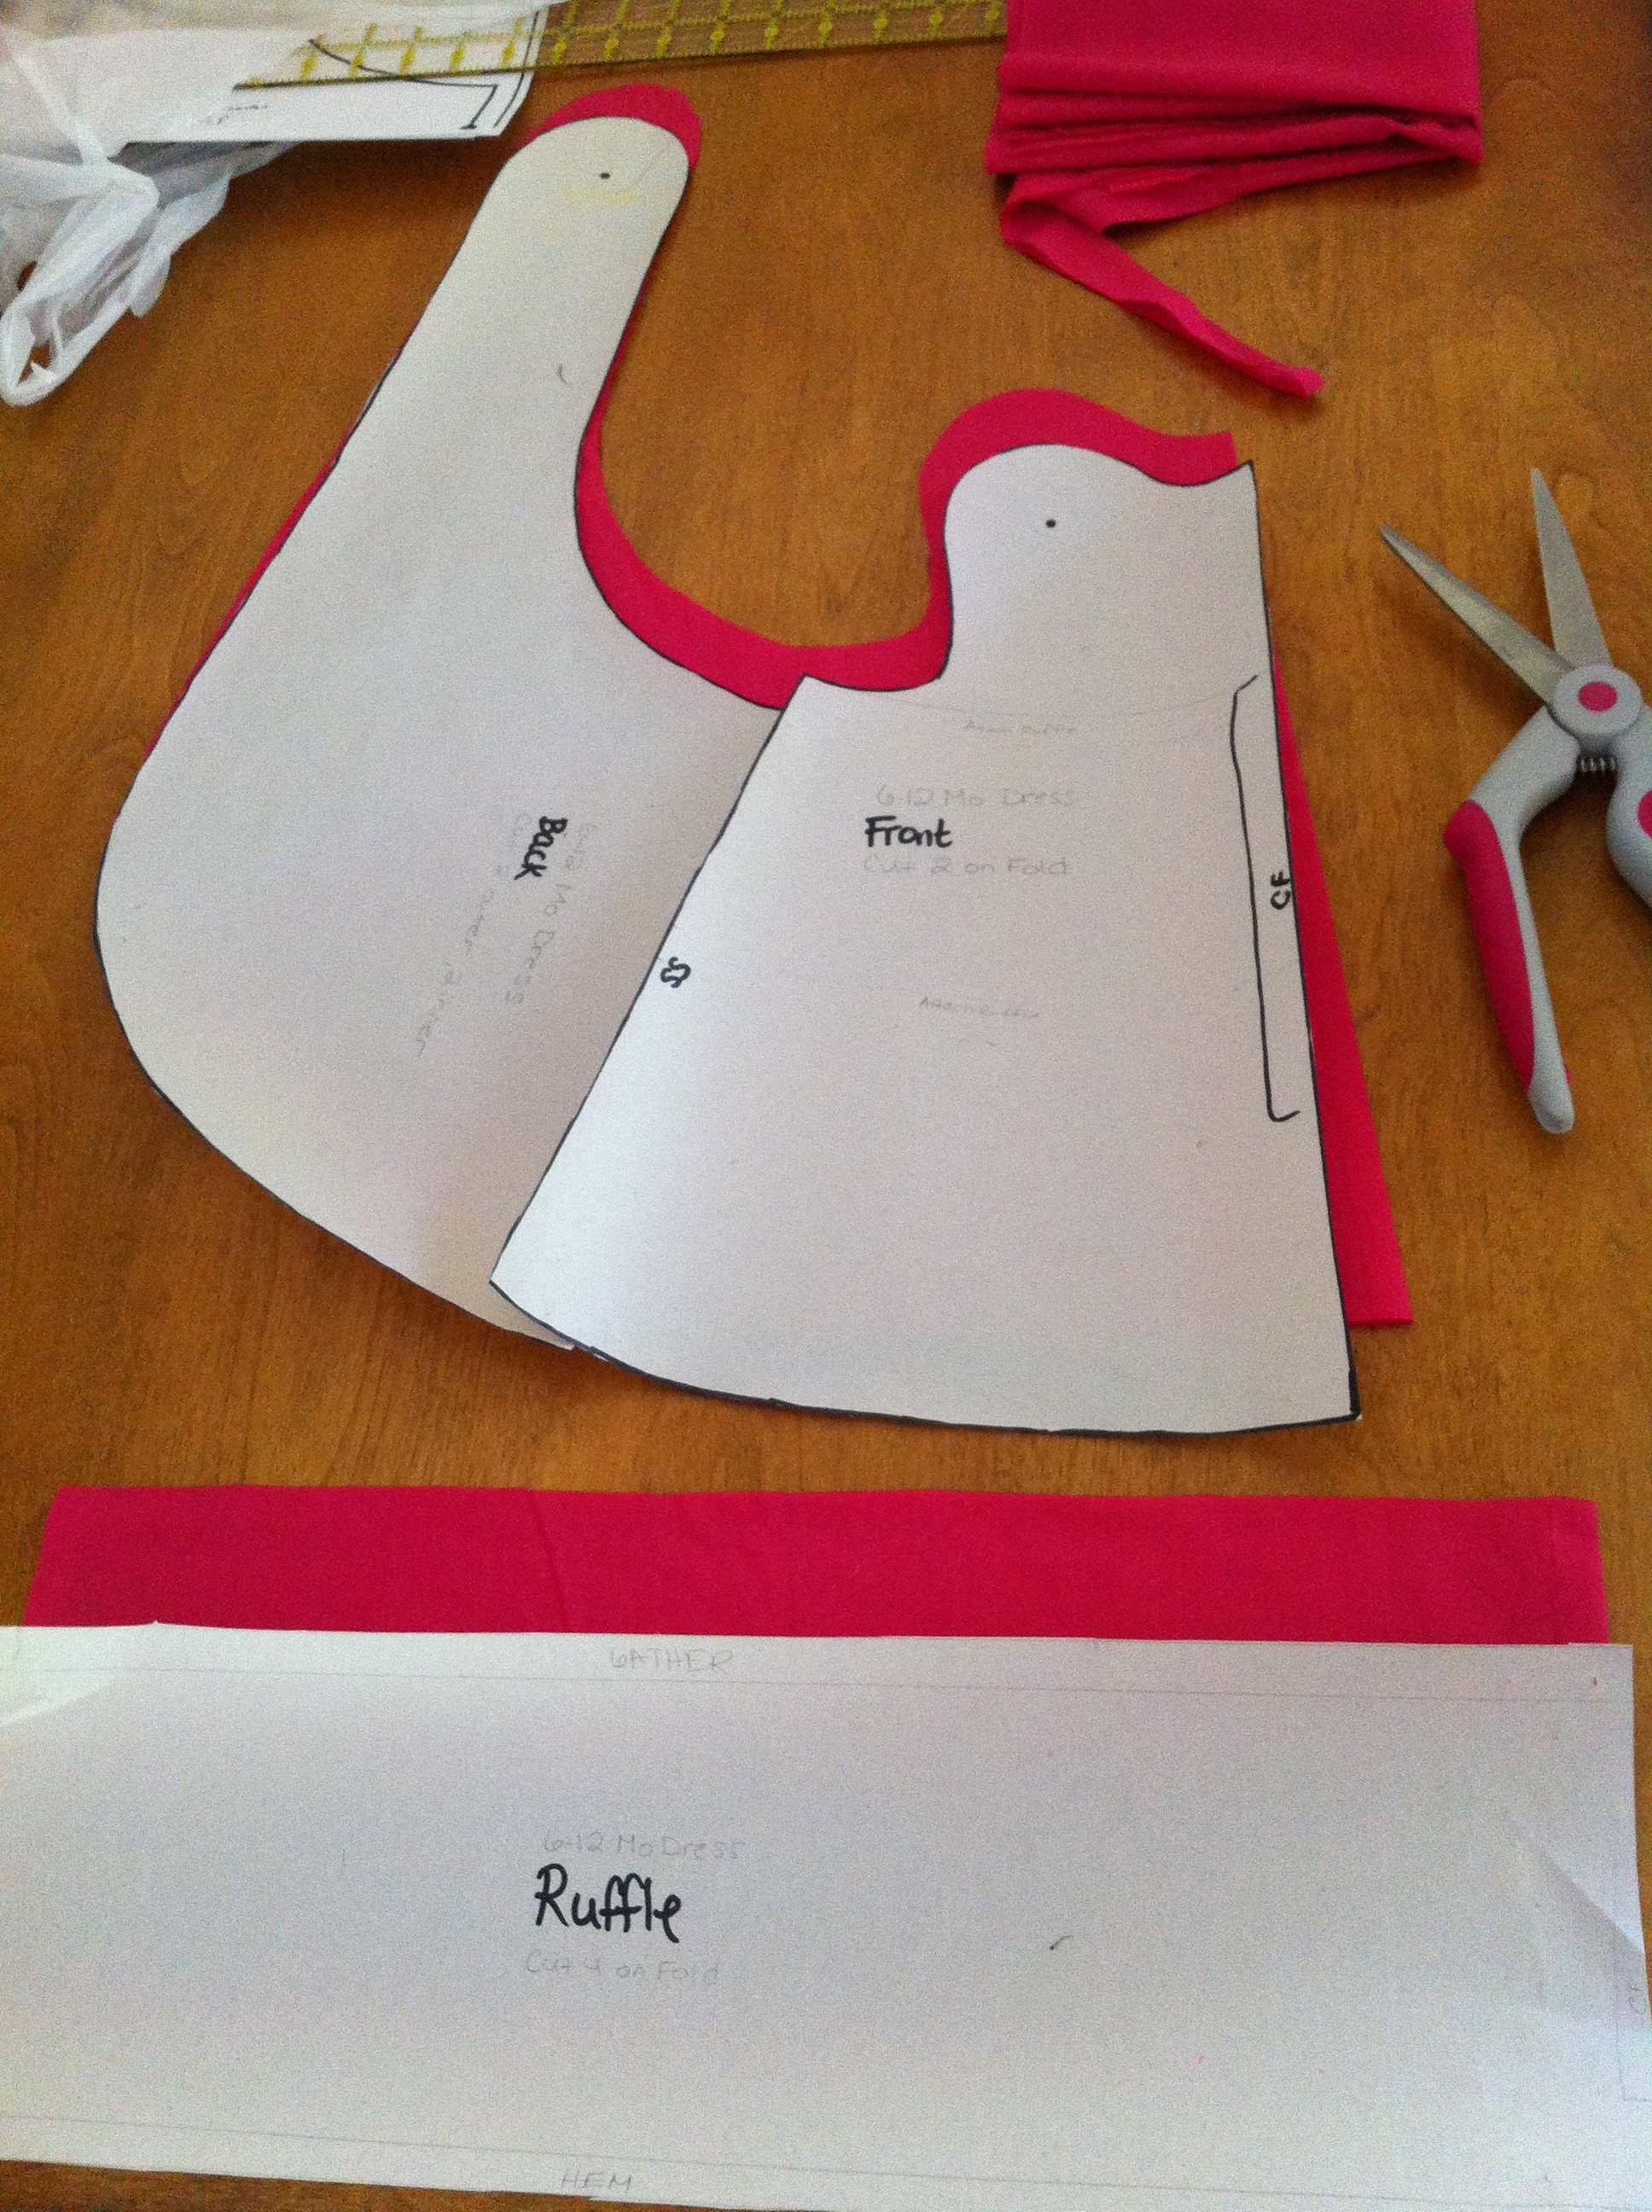
Also cut out another ruffle with your remaining .5 yard of fabric.
Let’s start sewing! Sew a basting stitch along your ruffle fabric, then gather. Do this for both ruffles. Hem the bottom edge of each ruffle. Remember your seam allowance is .5″.
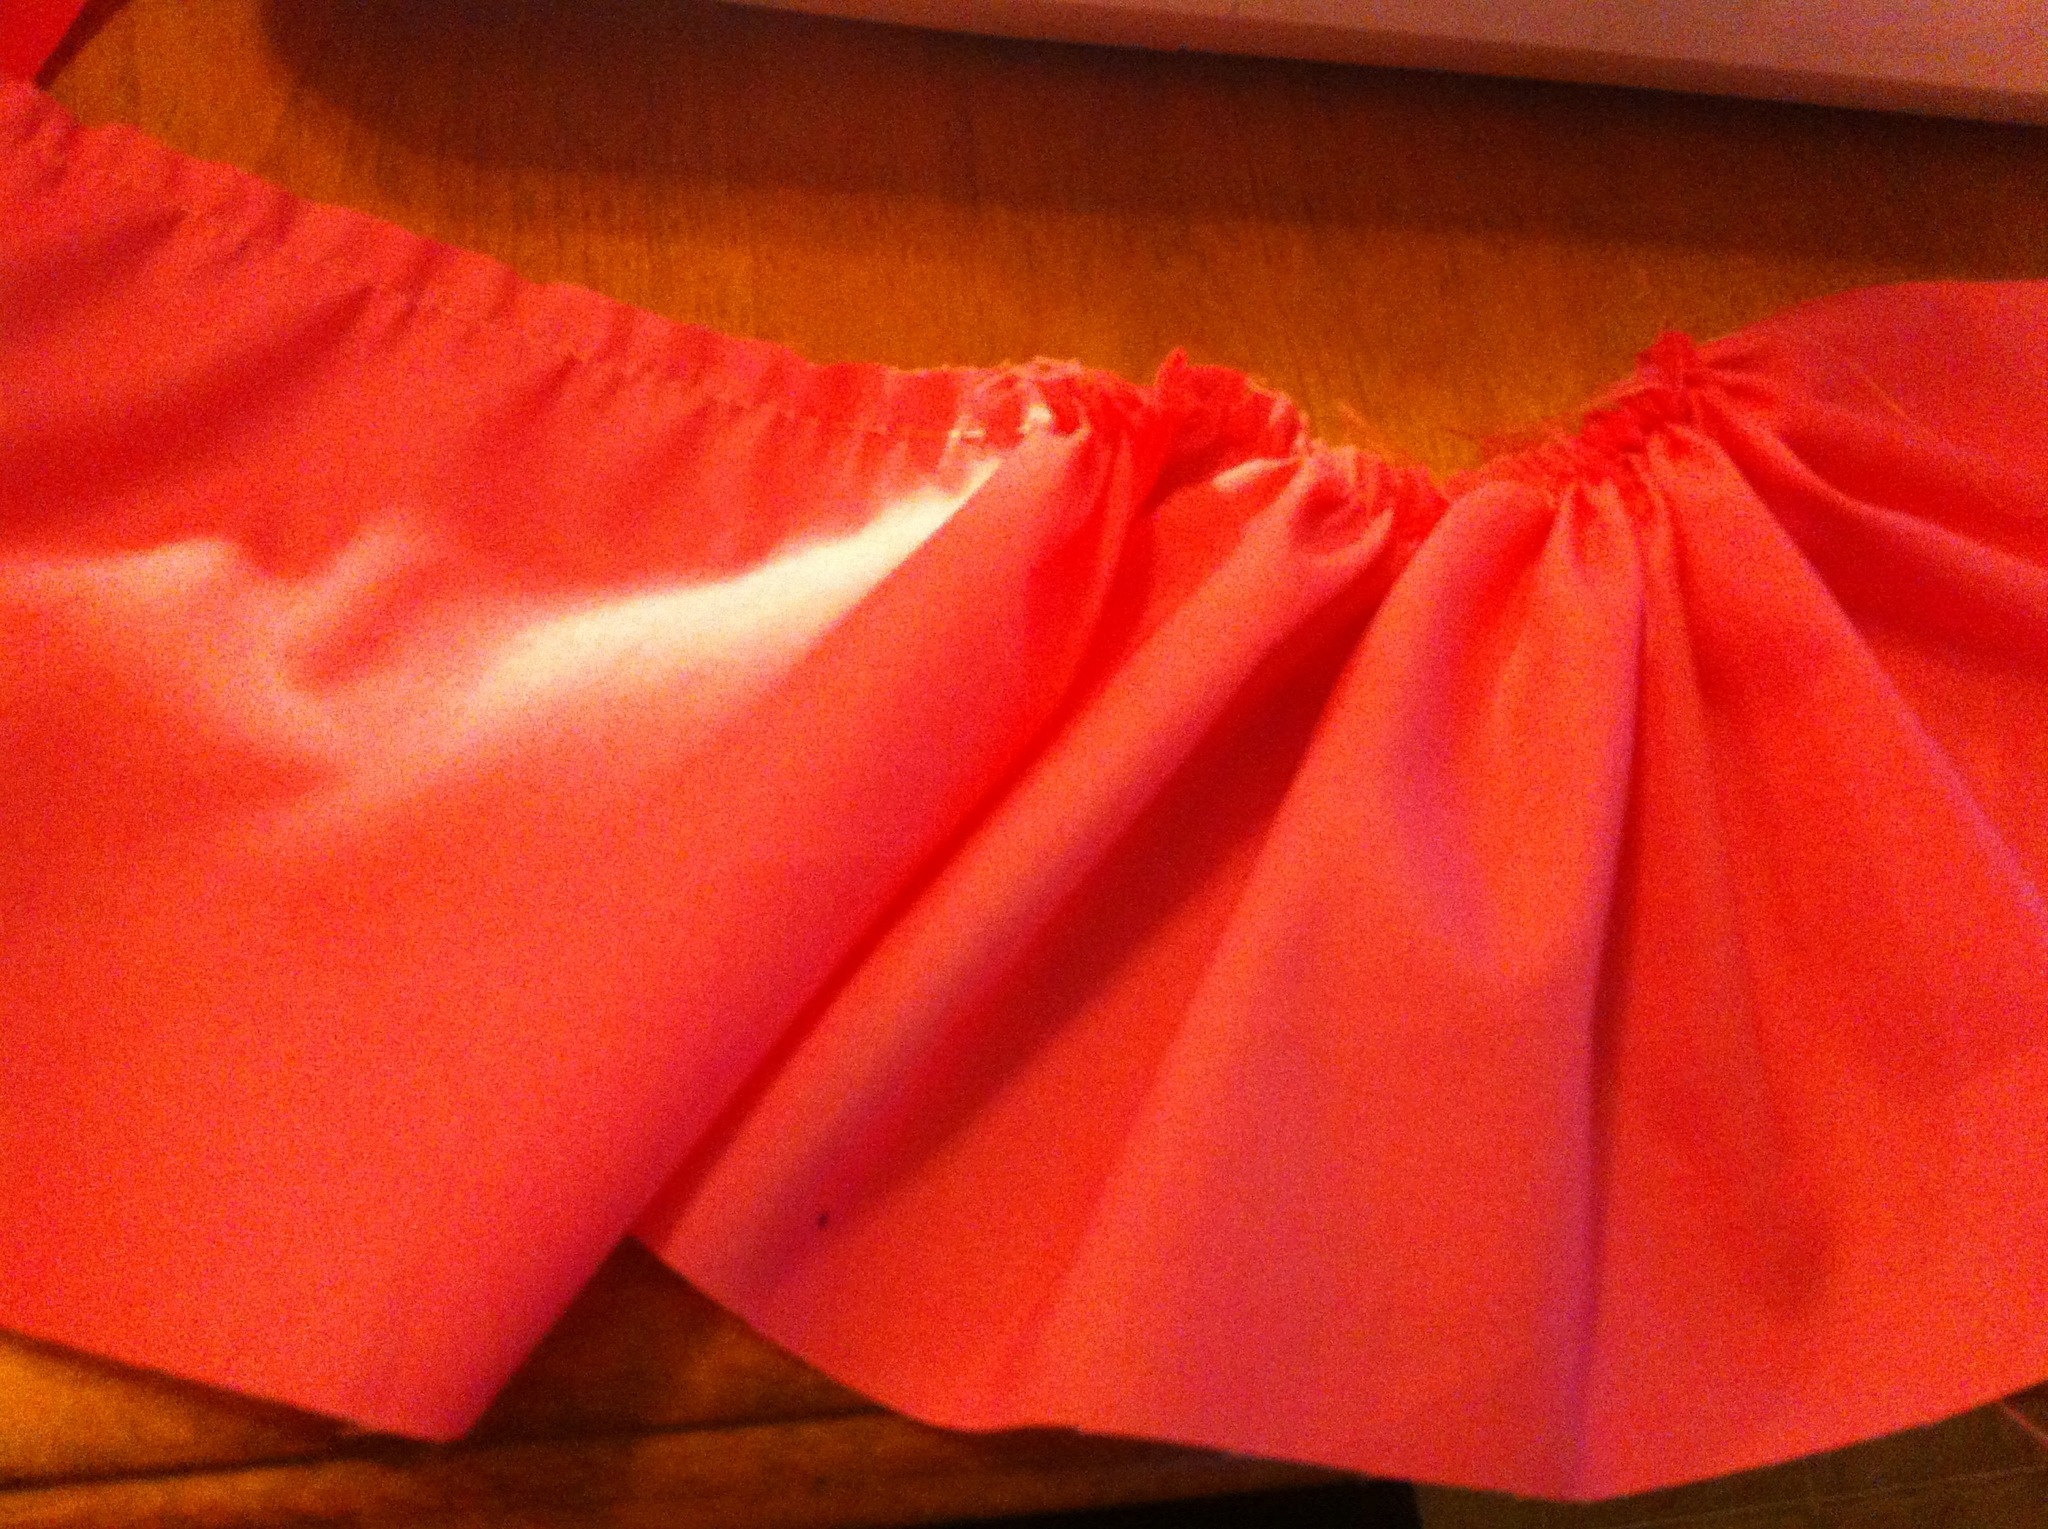
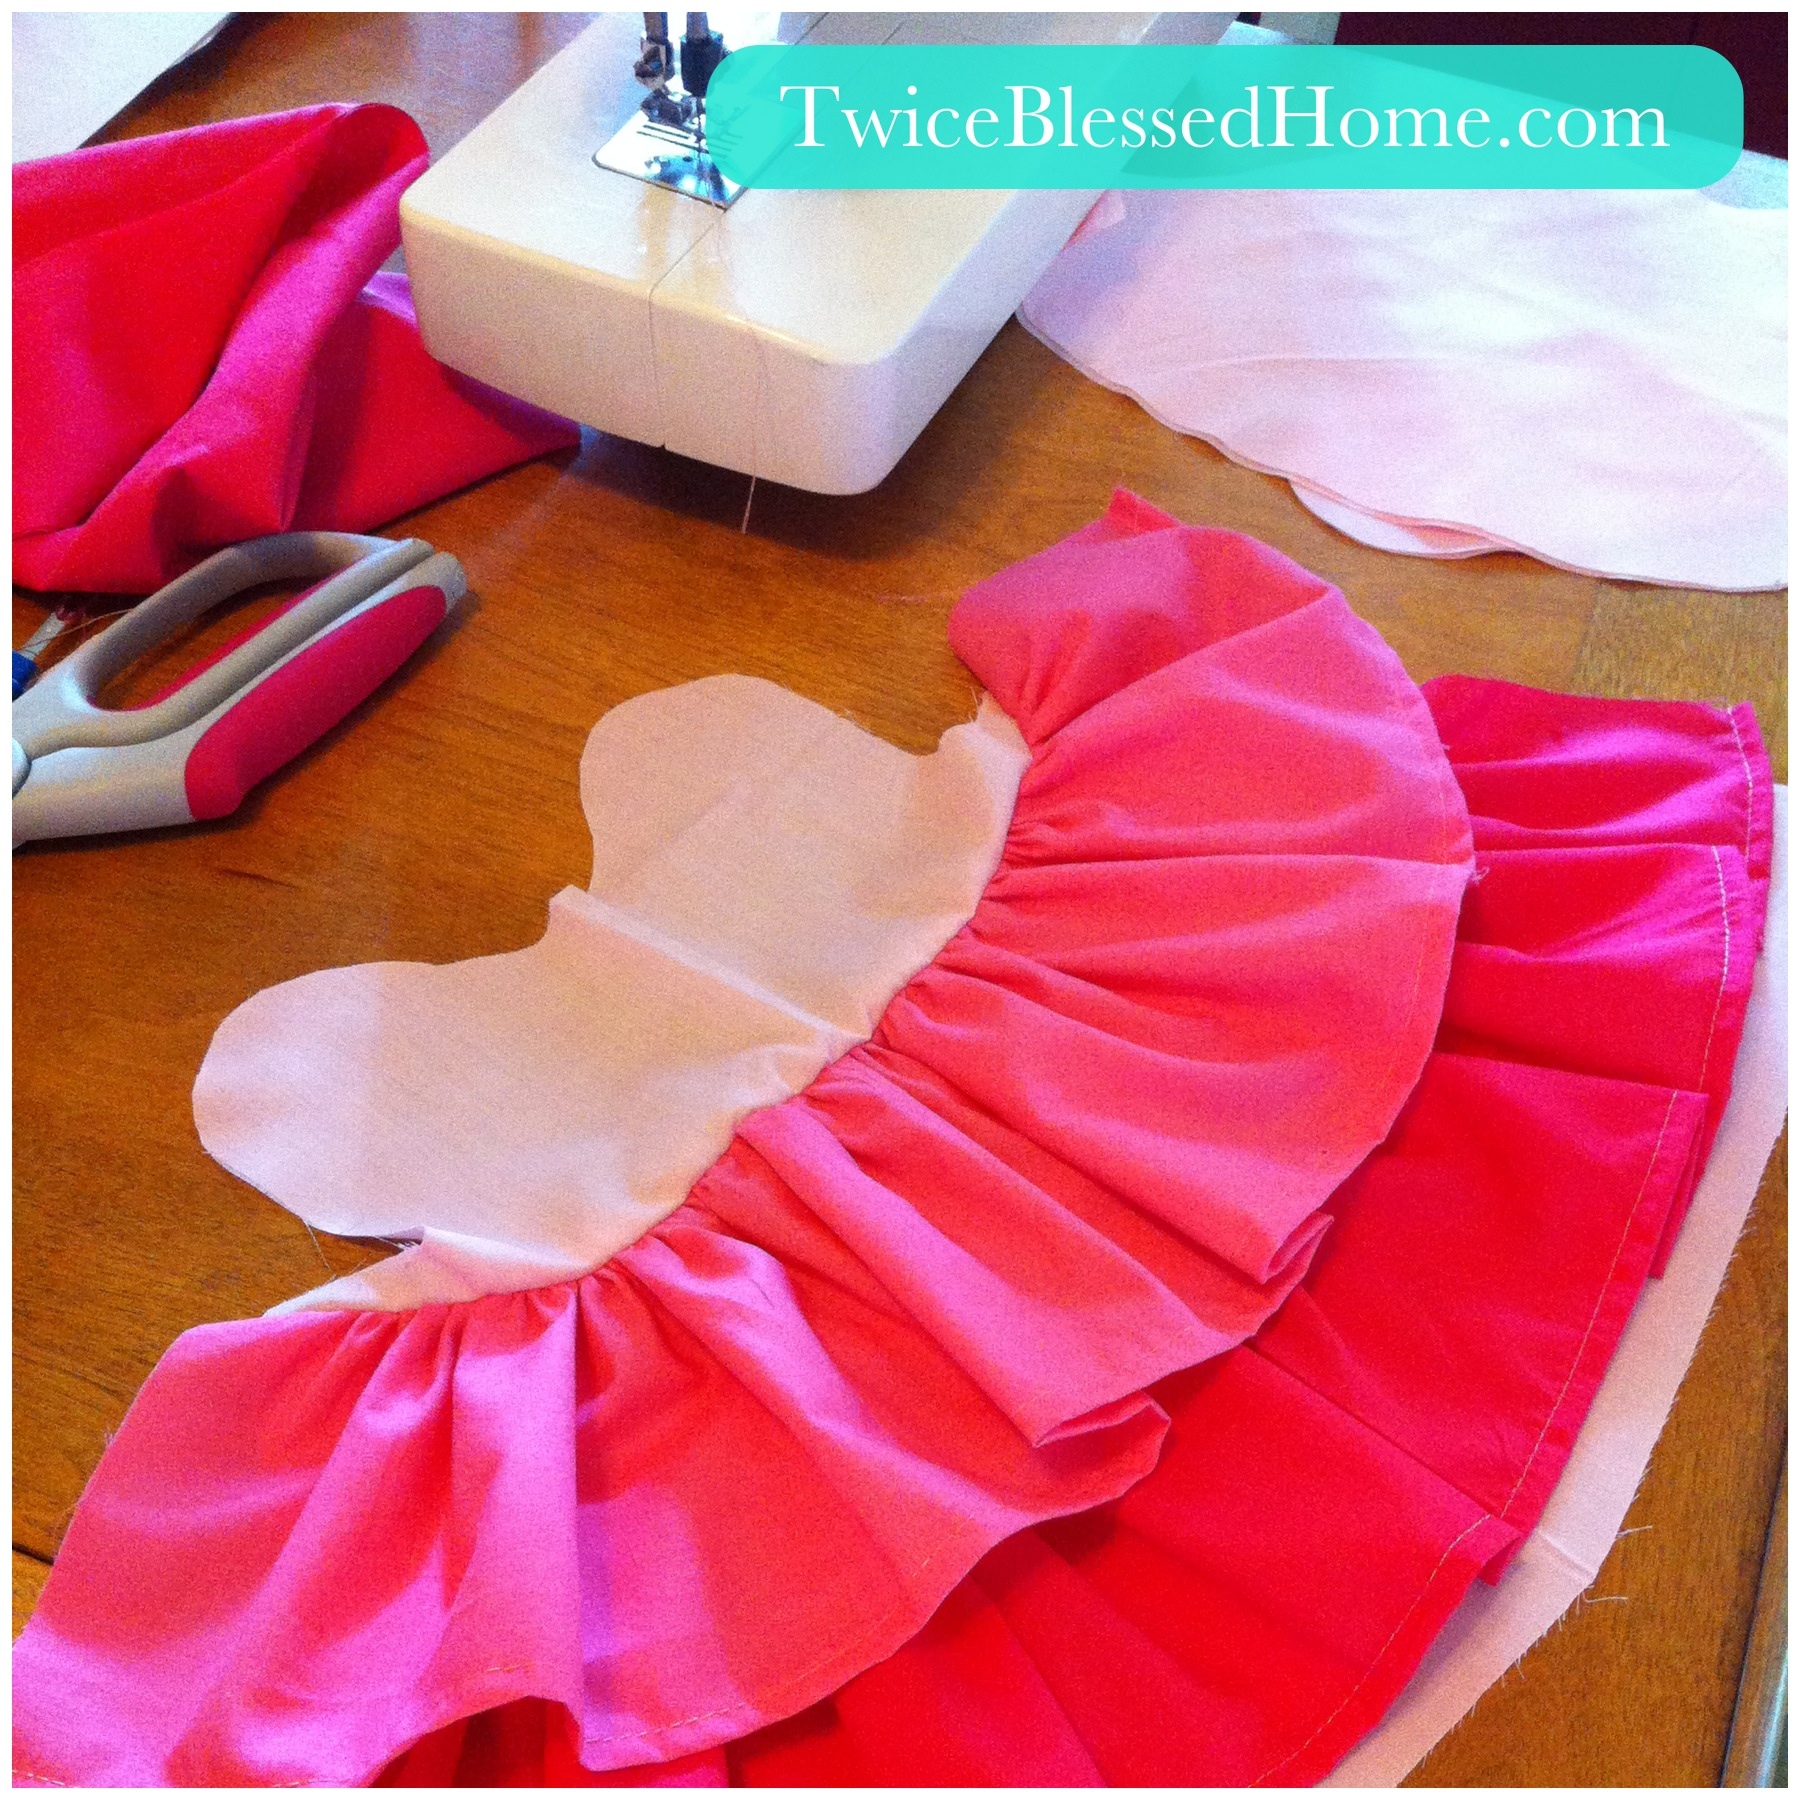
Then attach ruffles to your dress.
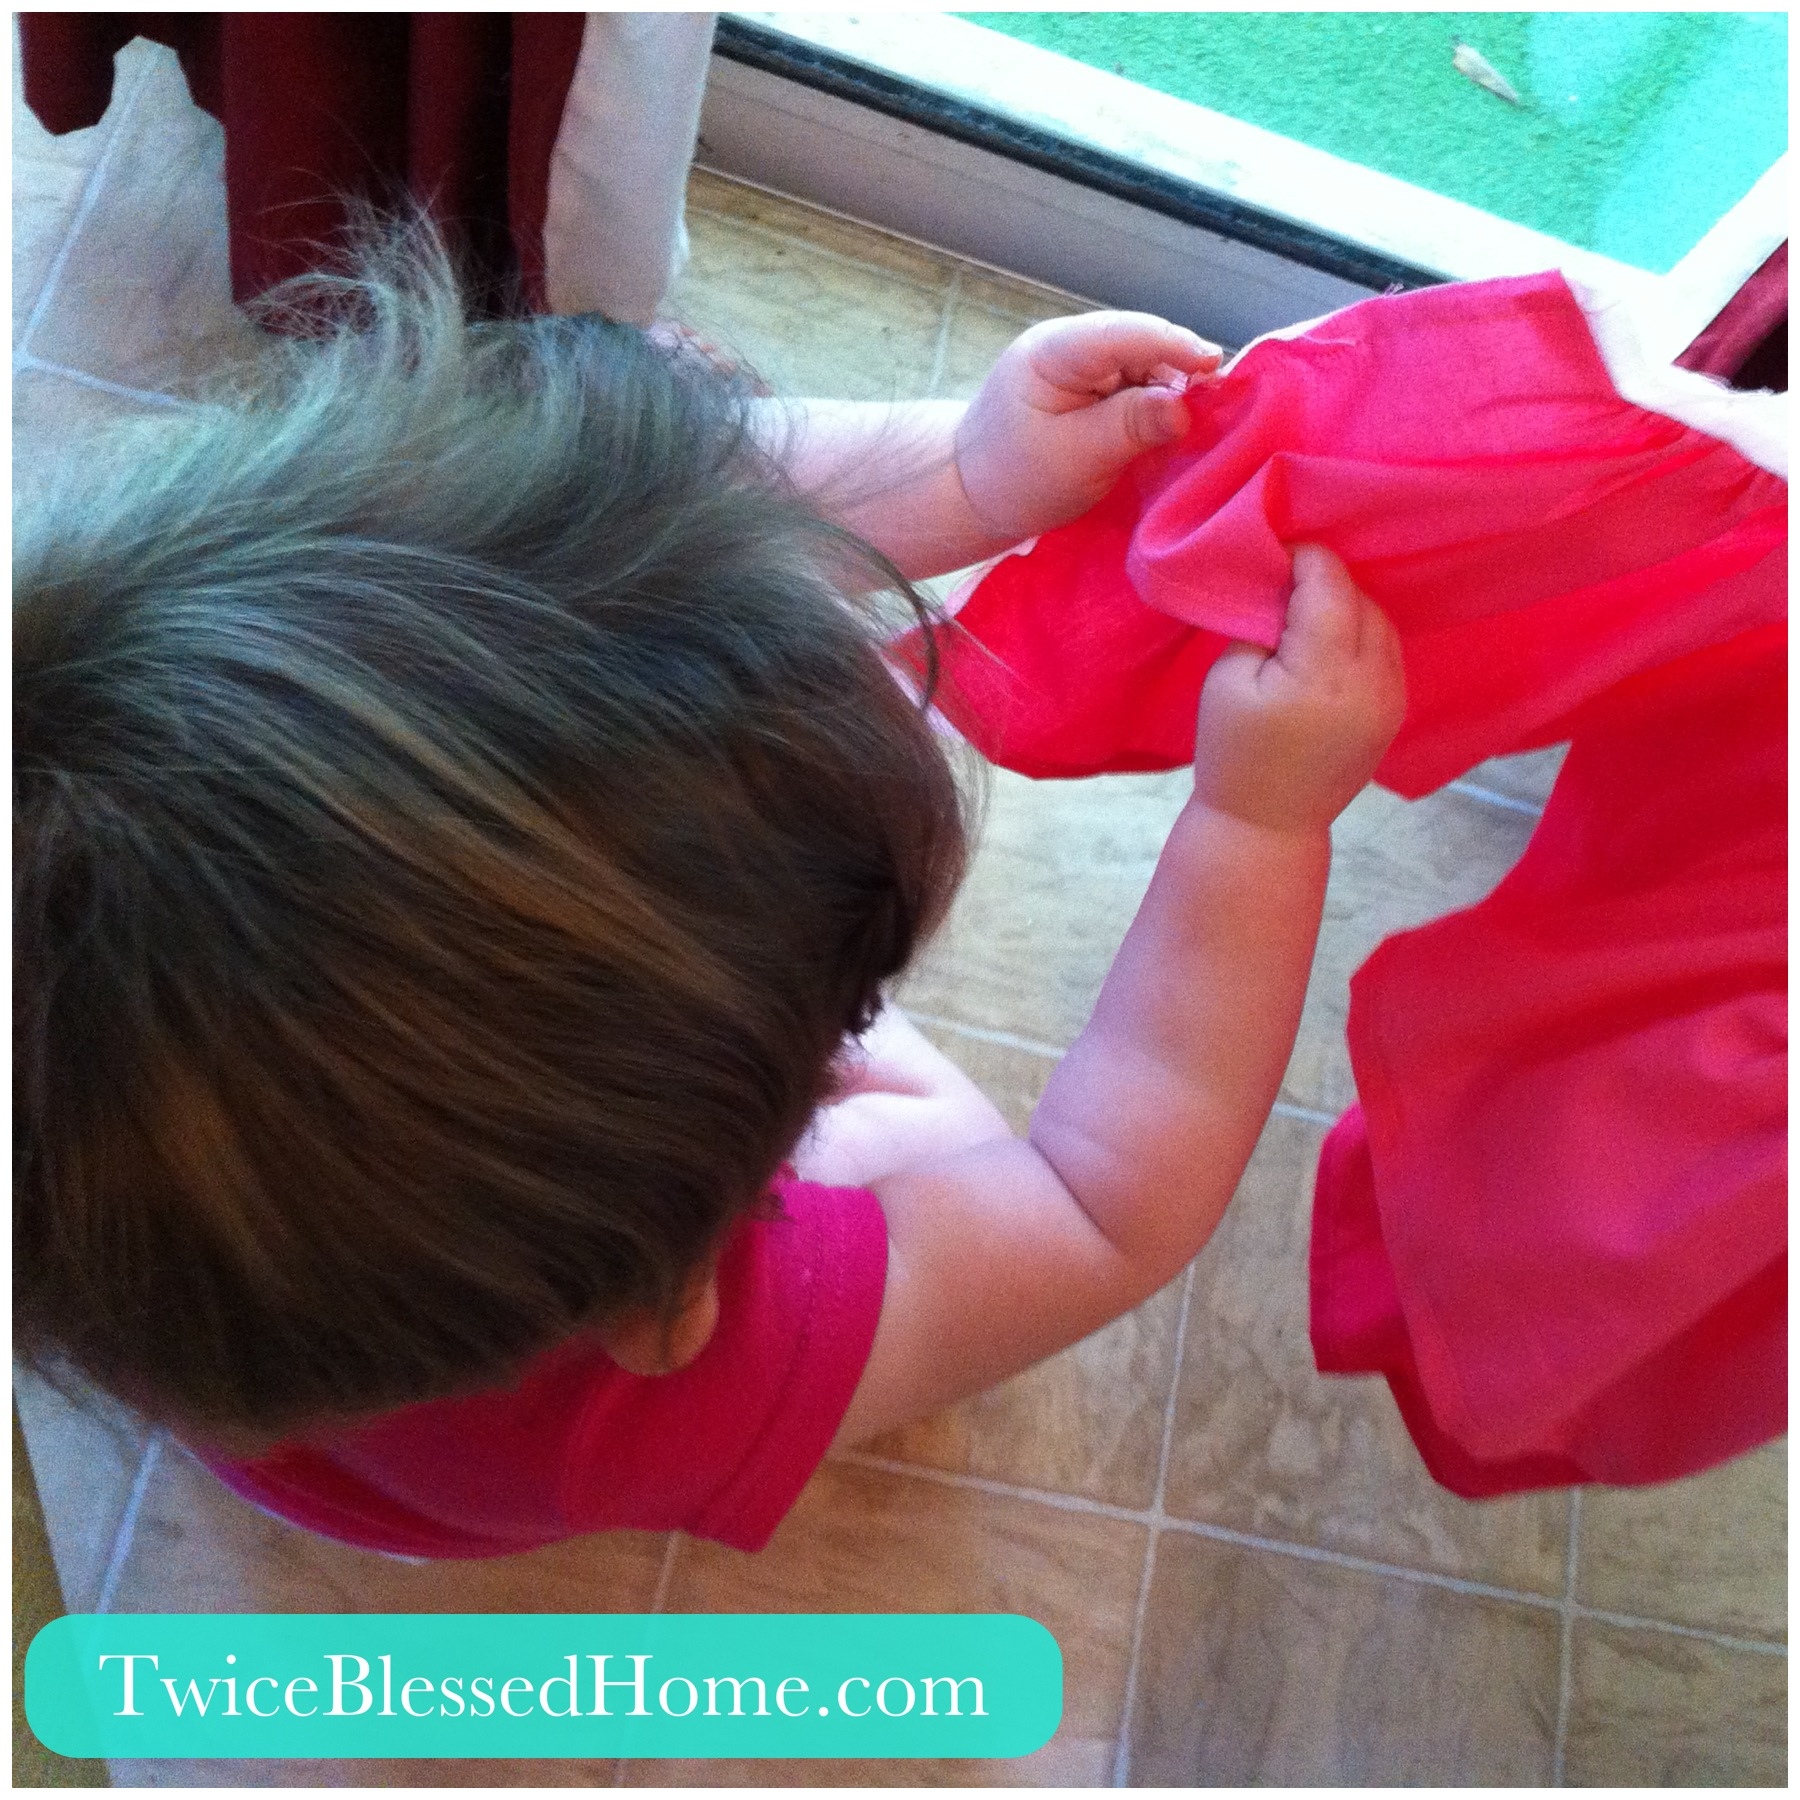
Birthday girl did a quality control test. PASSED!
Now sew your side seams. Press all seams flat.
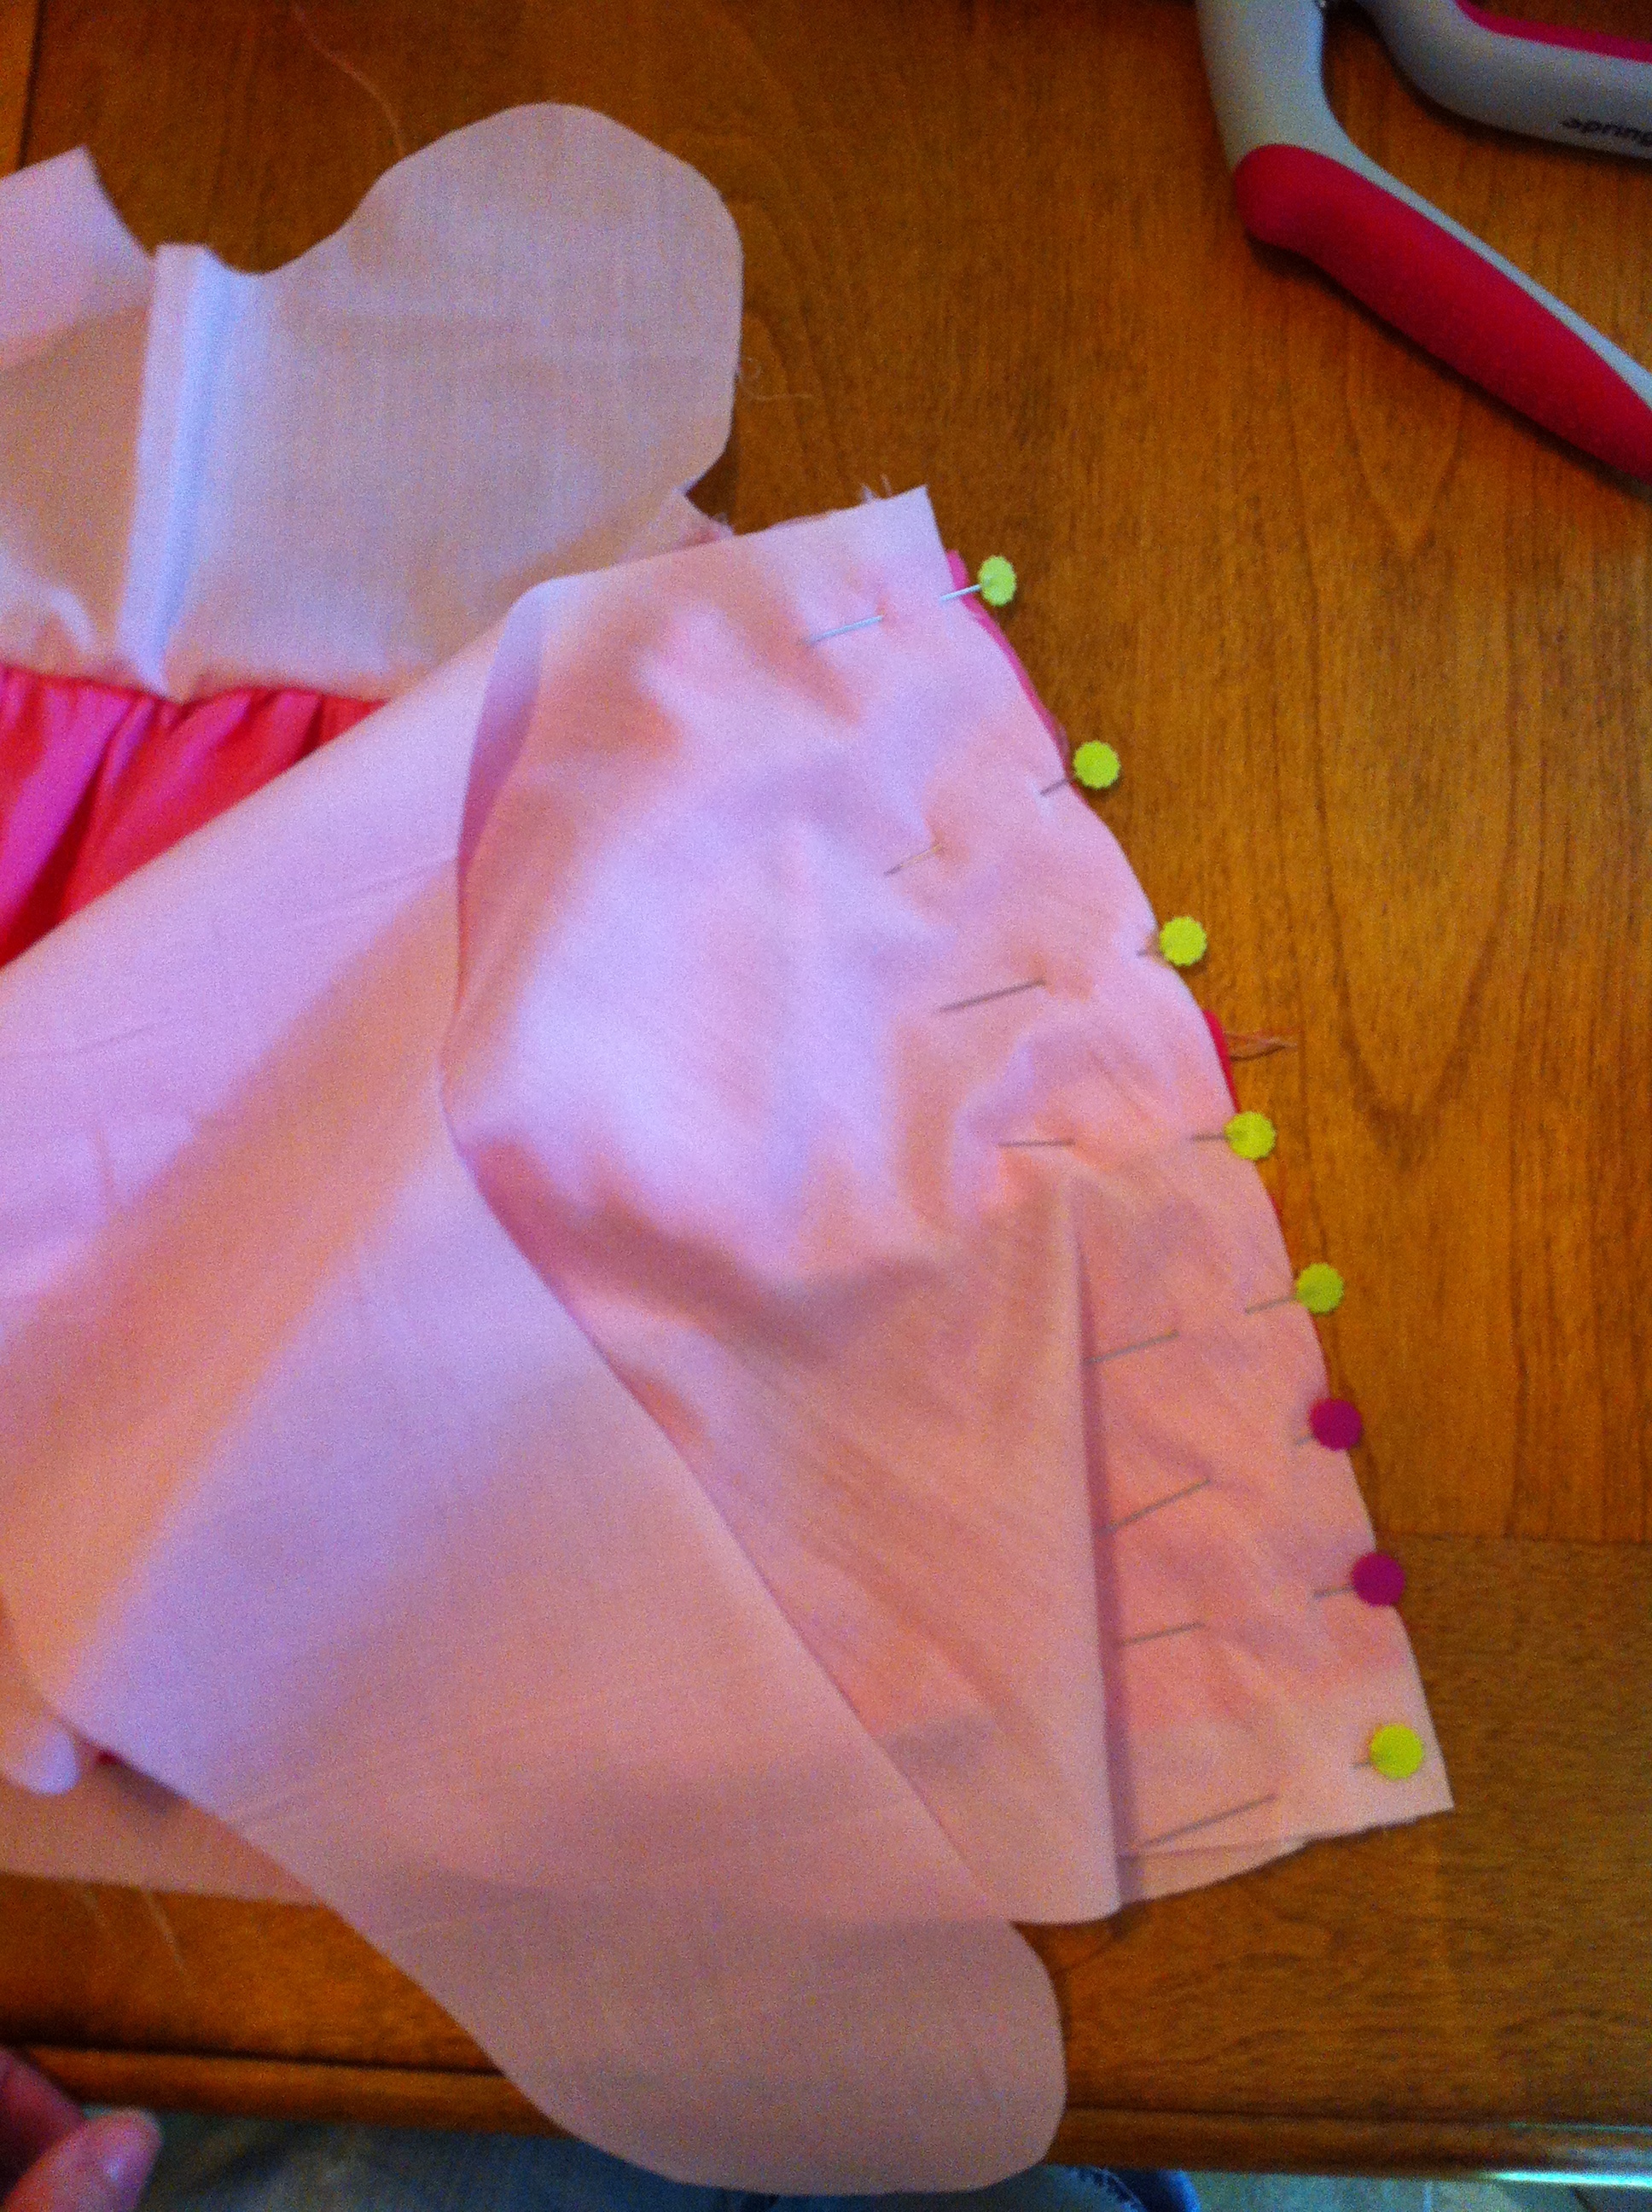
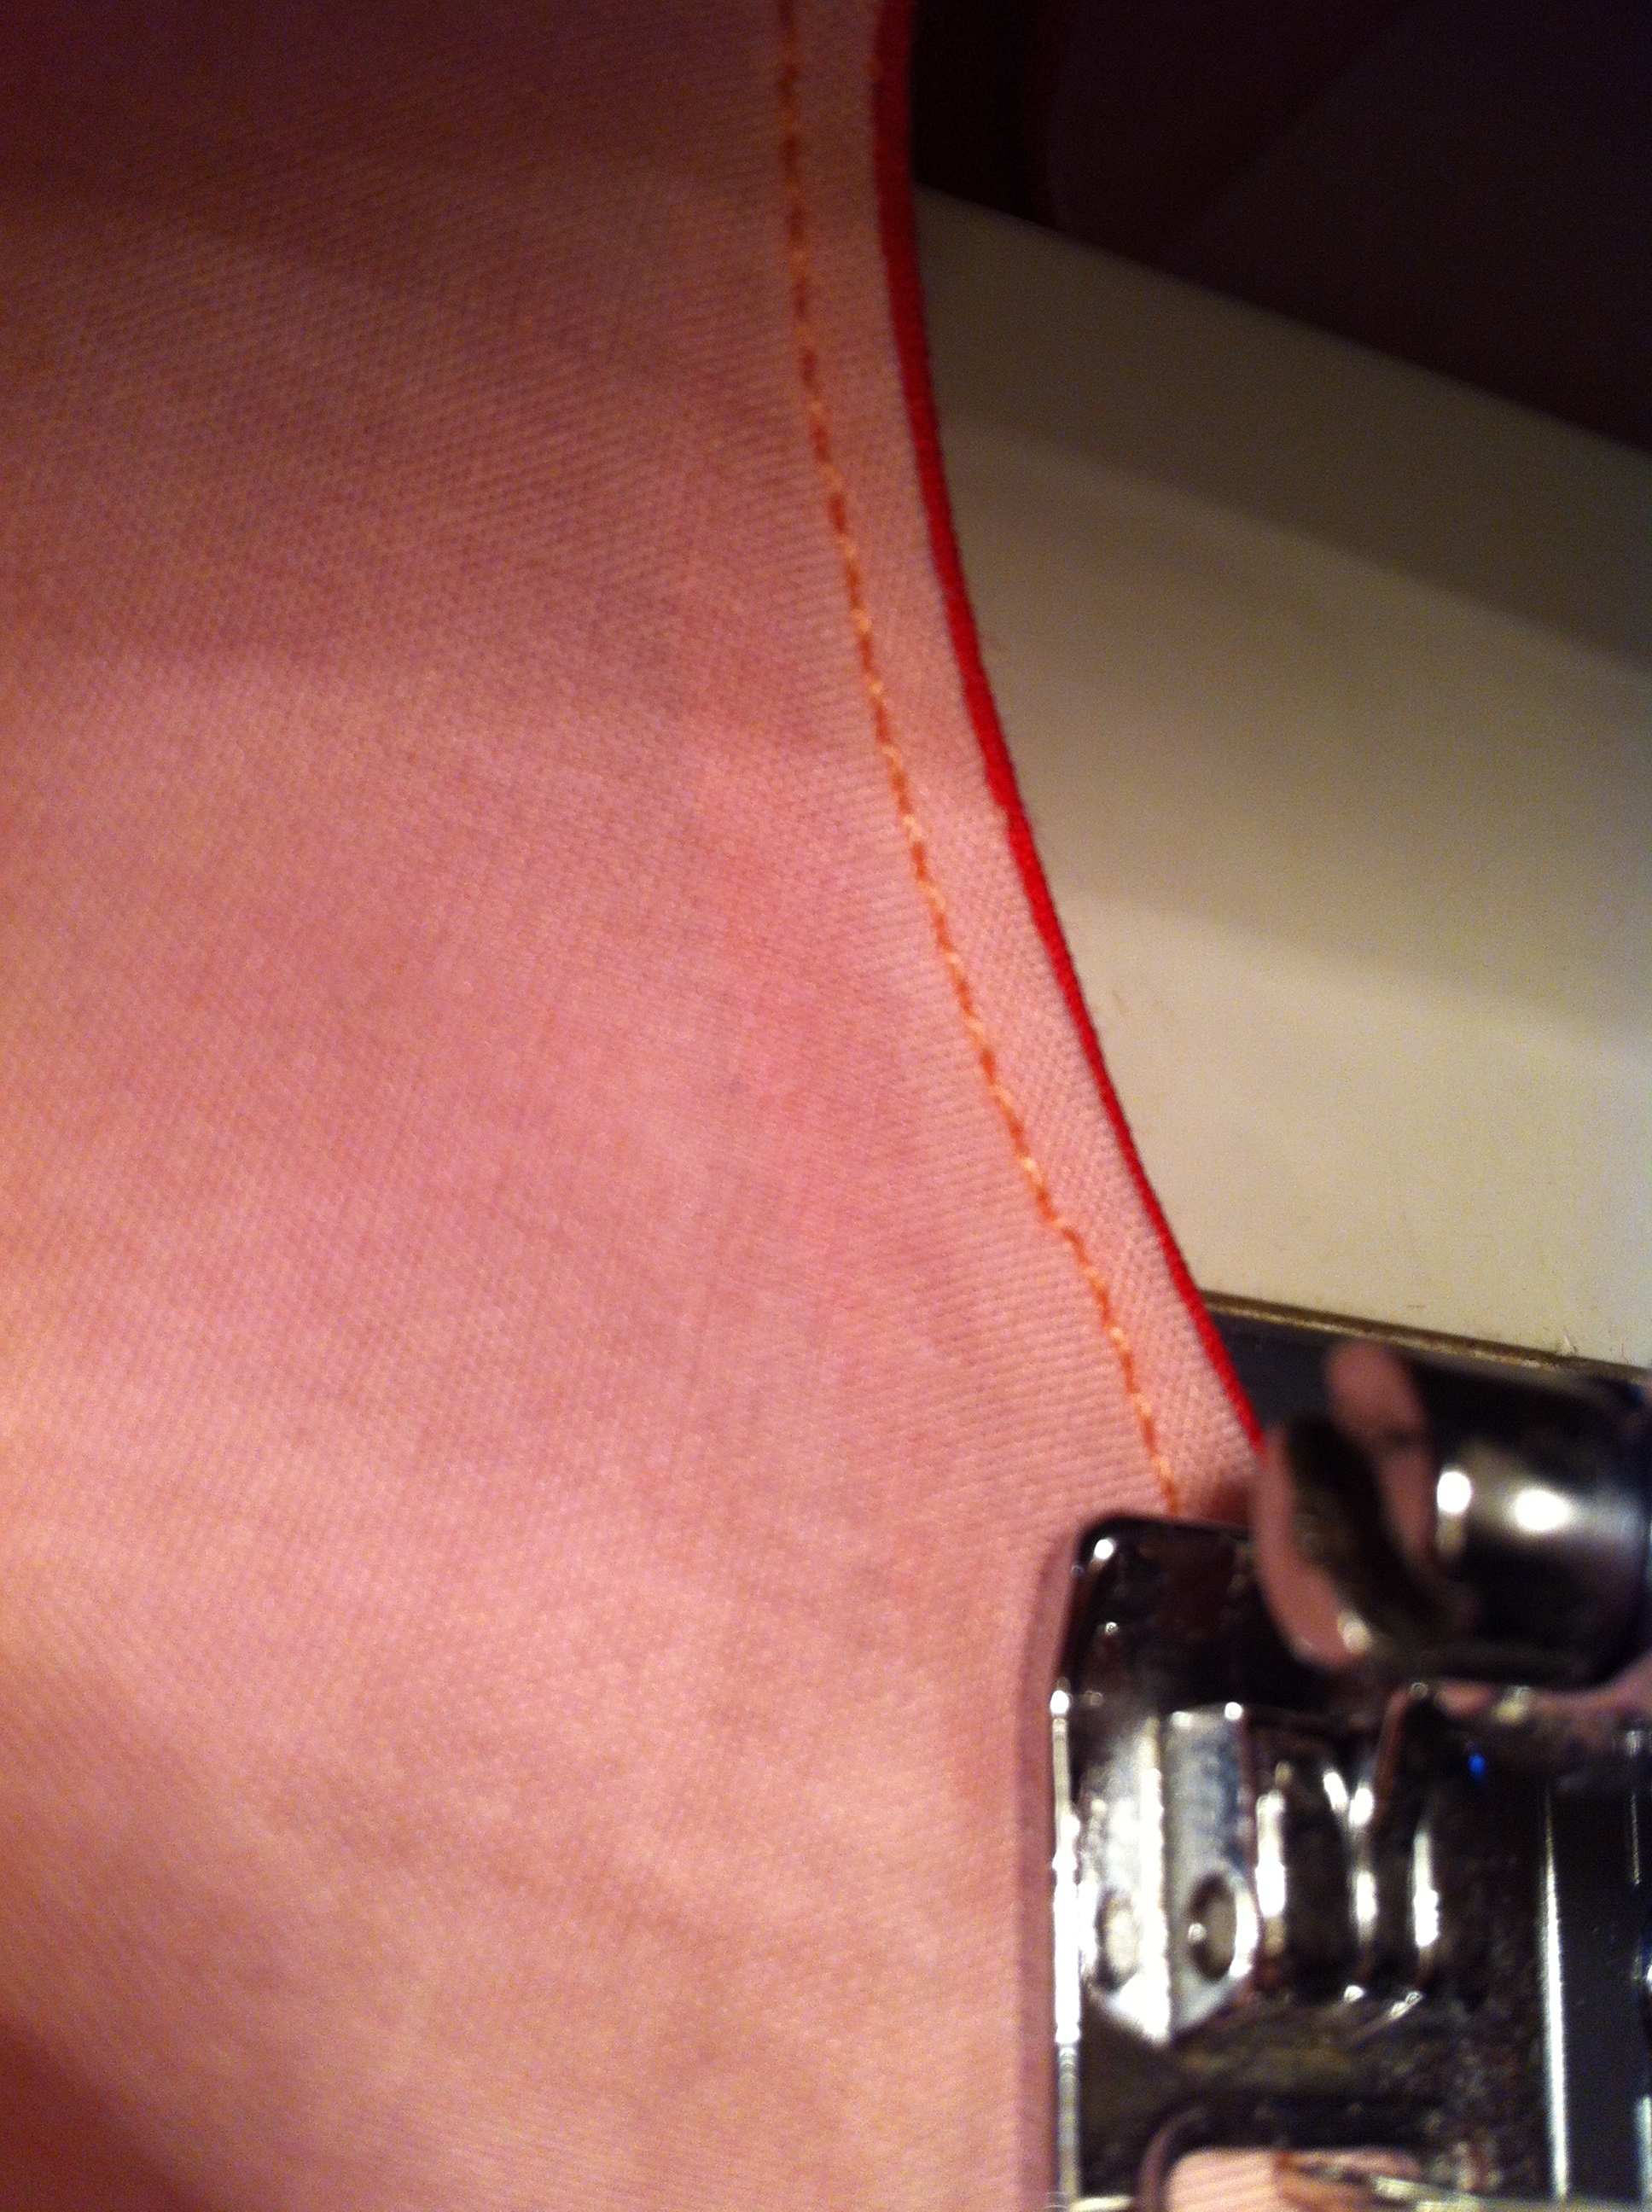
You are done with the front! Now lay your lining fabric face down on your finished front. Stitch all the way around leaving about 5″ hole to turn right side out. I left my hole at the bottom edge.
Turn everything right side out through that hole you left. Next top stitch along the edges of the entire dress to give it a finished look. As you top stitch, you will close up that hole you left.
Almost done! Now time to make your buttons. I used a button kit with the lining fabric. These are super easy to do. I found the button kit at JoAnns. Lastly sew each buttonhole. Many modern sewing machines have options you can select and the machine will sew it for you. There’s also a button hole foot you can attach to your machine. If you’re not familiar with the process and dont own a fancy machine, here’s a tutorial for sewing buttonholes: http://sewmamasew.com/blog2/2009/06/how-to-make-a-buttonhole/. I’ve done so many now that I just do them from scratch by adjusting the stitch lengths and widths.
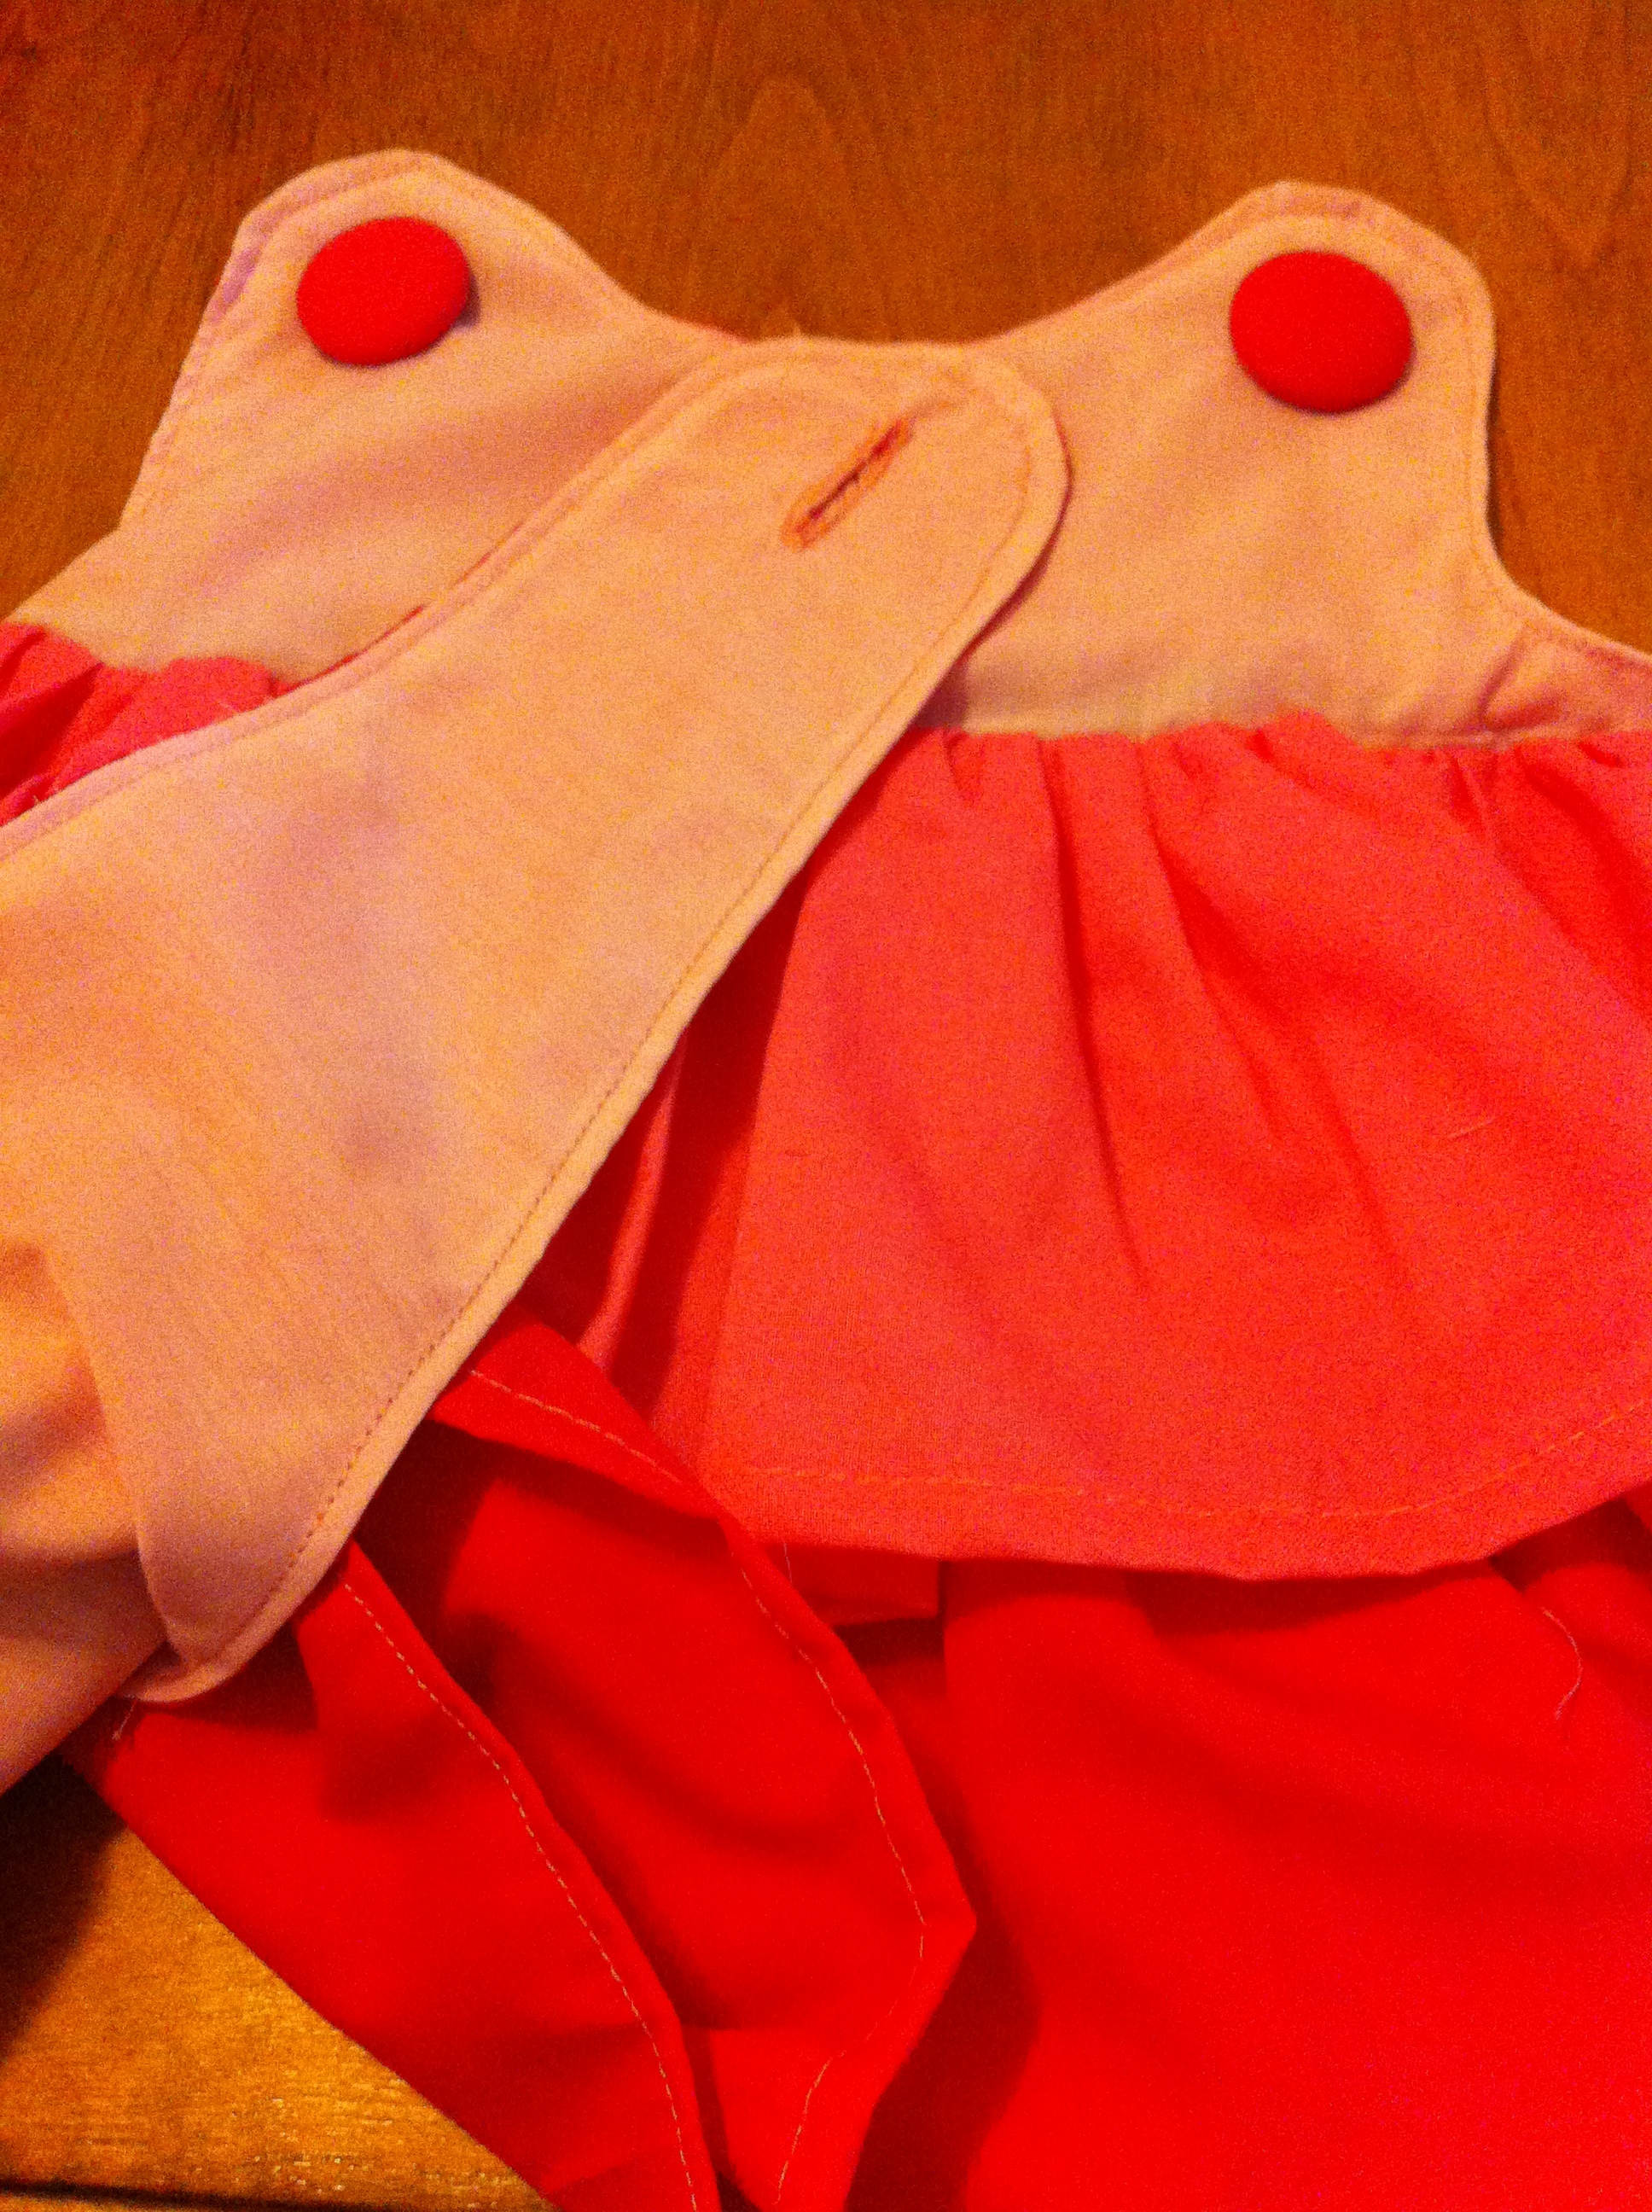
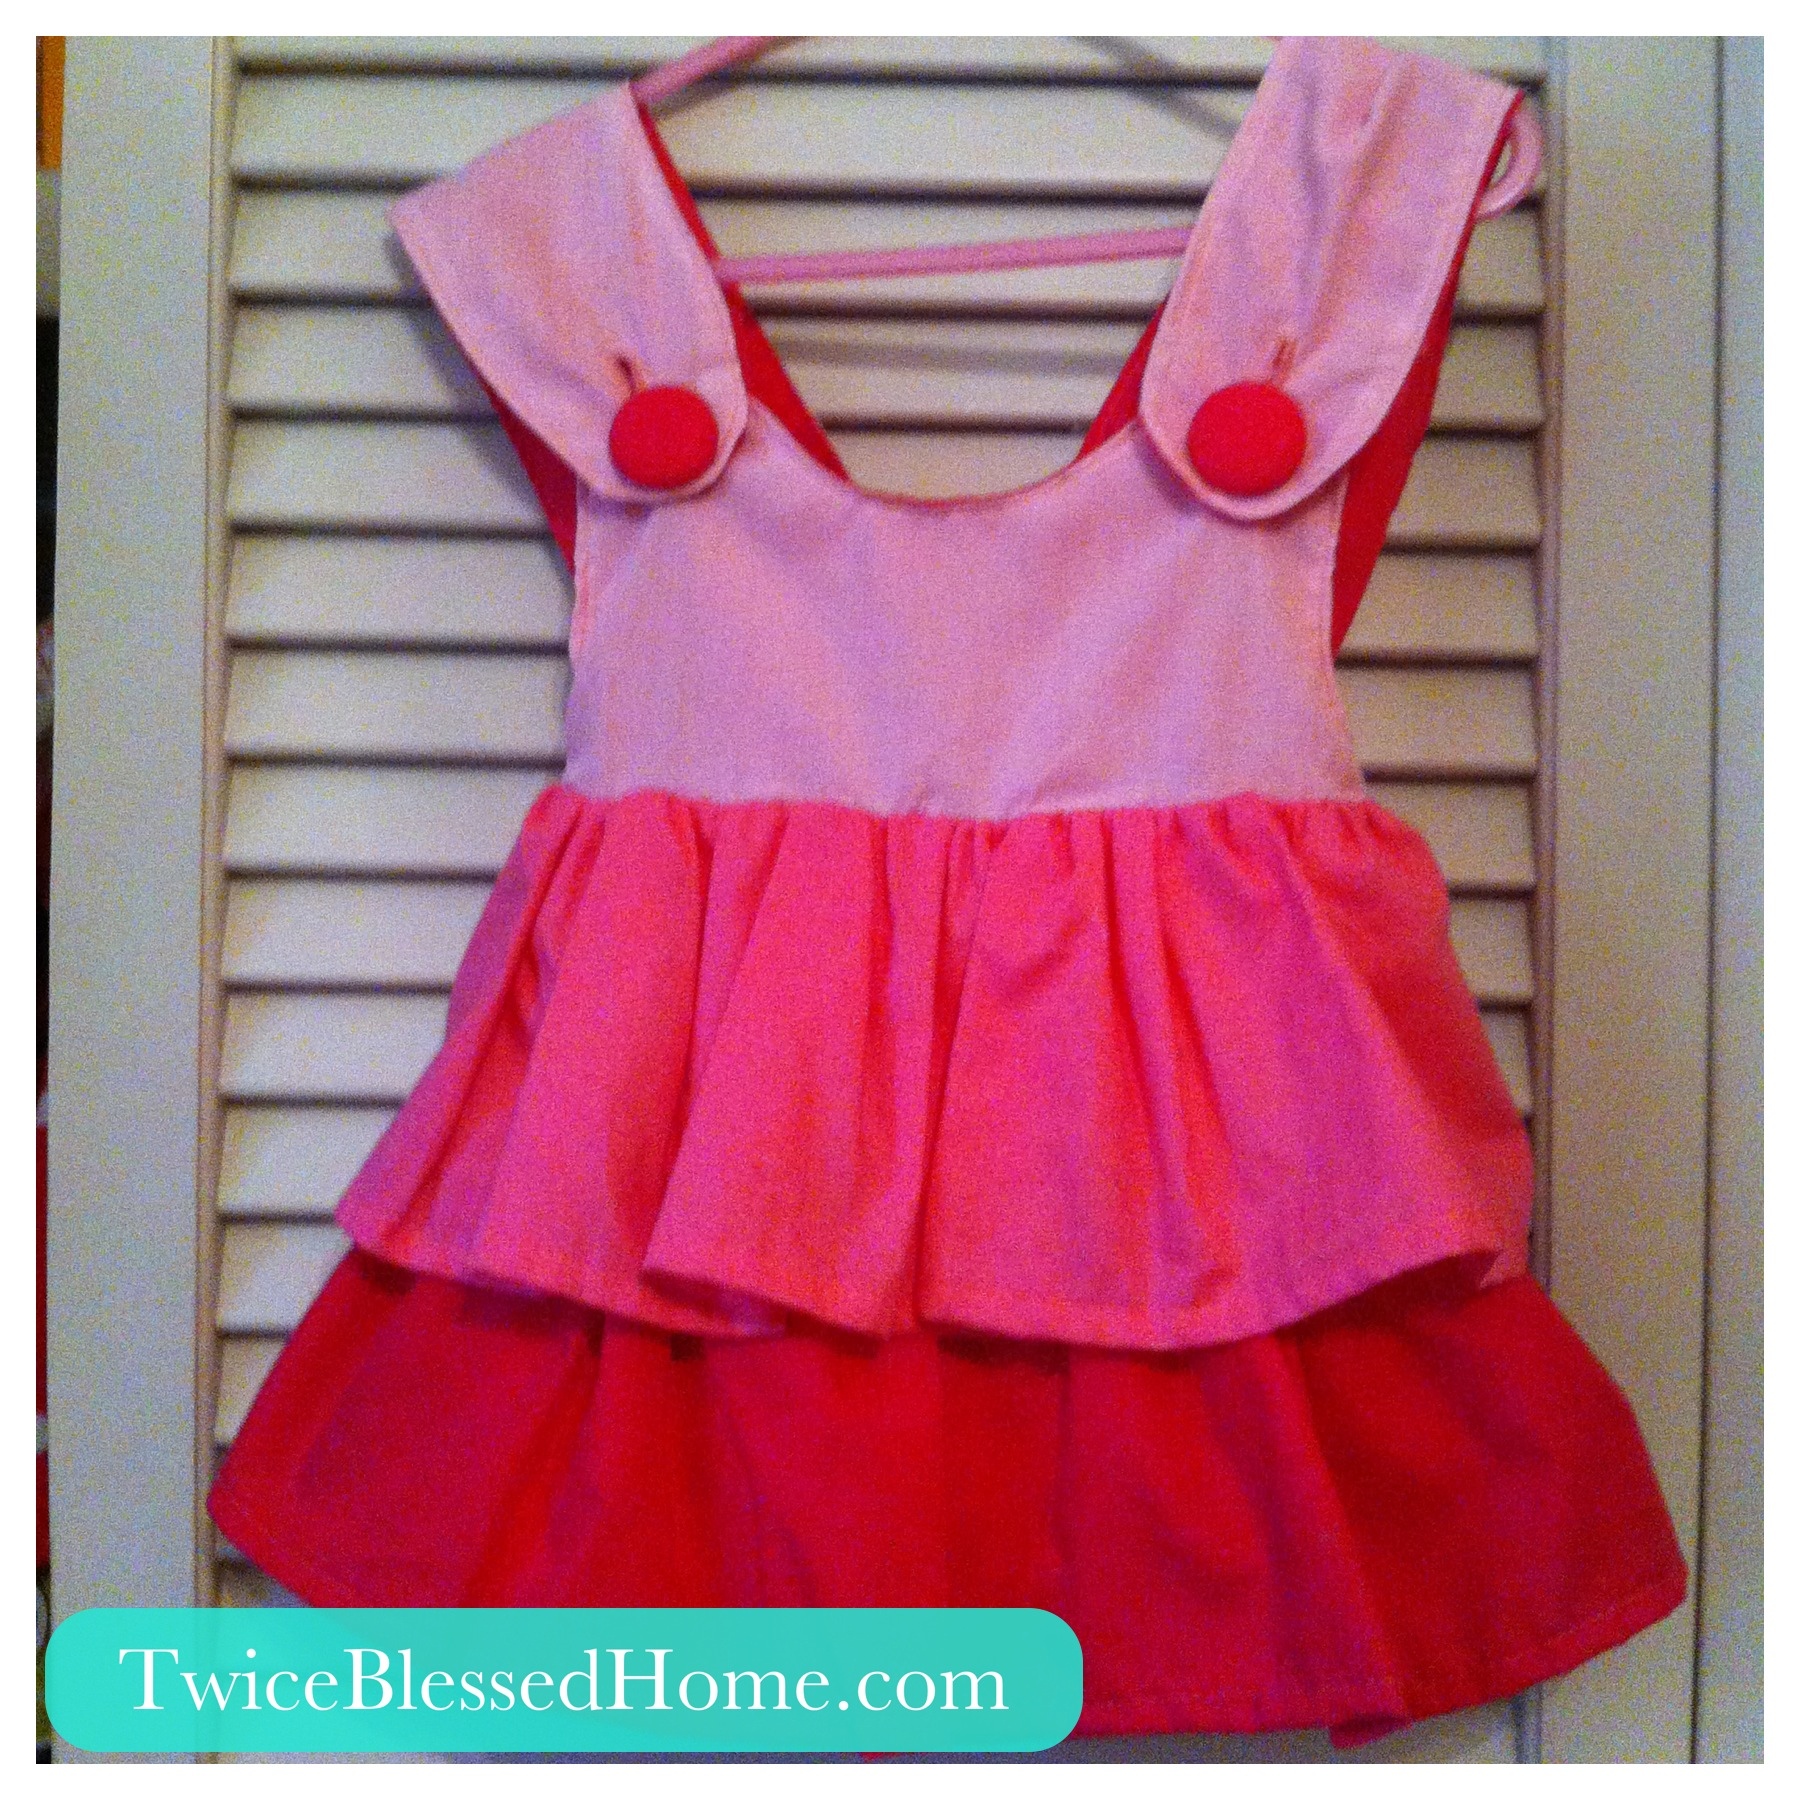
And you’re finished!

I am so proud of/happy for my sister. You have a beautiful family and a blessed life, you are a lucky woman. And I am lucky to have you.
I’m blessed to have you too sis!
I love the dress! You make it look so easy lol. =) Love, Mom
Because it is that easy! Really!
love this dress I am going to try it out tonight 🙂
Just finished the dress! Your tutorial was great, I can’t wait to try it on my daughter in the morning. 🙂
I am SO happy to hear that. And THANK YOU for your comment! I’ve been so busy I forget about this little blog I started. I would love to see your creation!